Reading view

4 Epsom salt uses around the house (and 7 ways to never use it)

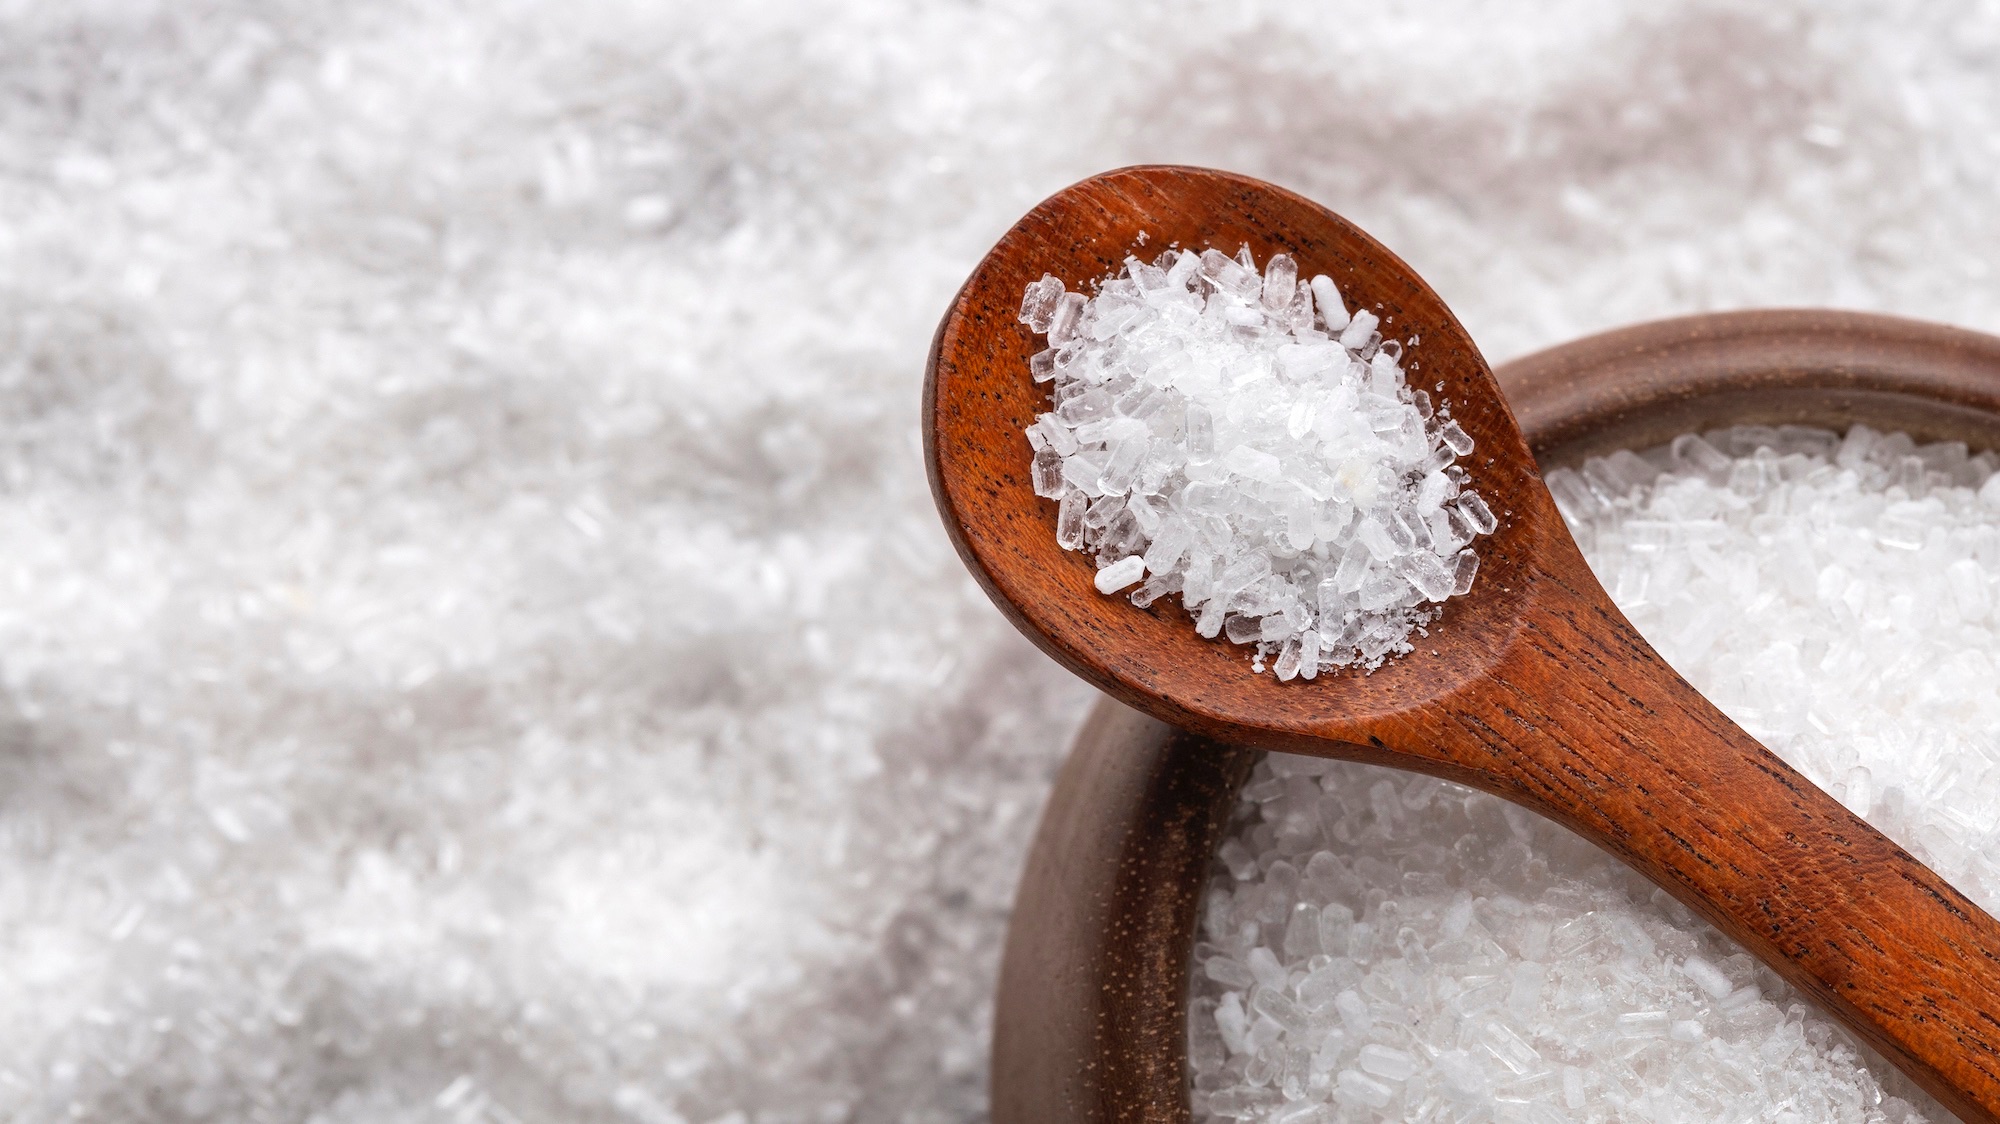
Most are aware of Epsom salt’s ability to soothe sore muscles. The compound itself is magnesium sulfate, a naturally occurring mineral. But while Epsom salt has become a staple in medicine cabinets, it’s also earned a reputation as a cure-all for everything from dirty grout to struggling tomato plants. 

Some of those uses are grounded in science, while others are little more than persistent household myths. Before you sprinkle Epsom salt on your garden or mix it into a DIY cleaning solution, here’s what it is actually good for and where you should skip it altogether.

Ways to use Epsom salt around the house

1. Soak away sore muscles

Epsom salt’s reputation as a post-workout recovery aid comes from its magnesium content. Magnesium plays a key role in muscle contraction, energy production, and recovery.  Intense exercise can temporarily deplete the body’s magnesium stores. 

A 2024 study found that magnesium soaks after a workout reduced muscle soreness, improved recovery, and provided protective effects against exercise-related muscle damage. To use Epsom salt safely post-workout, dissolve 1 to 2 cups in a warm bath and soak for about 15 to 20 minutes. While an Epsom salt soak is generally considered safe for most people, you should always consult your doctor before using any supplement regularly.

2. Create a mild scouring scrub

Epsom salt works as a gentle abrasive because its crystals are coarse enough to scrub without scratching surfaces. This property makes it a great alternative to steel wool or other abrasive cleaners. 

To use, mix it with dish soap or a gentle liquid cleaner to create a paste, then scrub baked-on food residue in pots and pans, grout lines between tiles, soap scum on tubs and shower walls, or dirt and mildew on plastic and metal outdoor furniture. 

3. Exfoliate rough skin

Epsom salt isn’t just useful to scrub pots and pans; it can also help smooth rough, dry skin. Research has found that Epsom salt can help remove dead skin cells and improve skin texture when used as an exfoliant. It’s naturally abrasive enough to buff away dead skin cells, yet gentle enough to use on areas like your hands, feet, and elbows. 

Skin experts suggest mixing Epsom salt with a small amount of water or a nourishing oil, such as coconut or olive oil, to create an easy DIY exfoliating scrub. For best results, exfoliate gently and follow with a moisturizer to help lock in hydration.

4. Use in crafts and décor

Epsom salt is perfect for crafting! Its crystals are easy to work with and create a frosted, glittery texture that crafters use to dress up mason jars, candle holders, and seasonal centerpieces. An easy way to frost a glass surface is to brush it with a thin layer of craft glue, roll it in dry Epsom salt, and let it dry completely. The result resembles ice or snow, making it a popular choice for winter and holiday décor. 

Ways You Definitely Shouldn’t Use Epsom Salt

1. As a miracle garden fertilizer

Social media has turned Epsom salt into a gardening cure-all, with viral posts promising lusher tomatoes, bigger blooms, and faster growth. The science doesn’t back it up. Epsom salt supplies magnesium and sulfur, nothing more. And, most garden soil already contains sufficient magnesium, especially when amended with organic matter. 

What plants need to grow and thrive are nitrogen, phosphorus, and potassium, the core nutrients that true fertilizers provide. Epsom salt delivers none of those. Correcting a magnesium deficiency and fertilizing a plant are two different jobs: the first fixes a specific problem, the second feeds the plant. Save the Epsom salt for the rare case when a soil test confirms a deficiency, and reach for a real fertilizer when your garden needs feeding.

2. To prevent blossom end rot

Blossom end rot is the dark, sunken patch that appears on the bottom of tomatoes, peppers, and eggplant. There are online claims that suggest crushed eggshells and Epsom salts will help cure this common garden issue. However, blossom end rot signals a calcium deficiency, and that deficiency is a water transport problem in the plant. Epsom salt not only fails to fix it but can also make it worse. Excess magnesium in the soil blocks calcium uptake, worsening the deficiency that caused the rot. To prevent blossom-end rot, keep soil evenly moist, protect roots from damage, and let a soil test guide fertilizer decisions.

3. As a pest repellent

Gardening blogs and social media accounts frequently recommend spraying Epsom salt solutions on roses and vegetables to repel slugs, insects, and other garden pests. According to Washington State University Extension, there is no scientific evidence to substantiate claims that Epsom salt controls any pest species. Worse, the most common application method, spraying Epsom salt solution directly on foliage, can cause leaf scorch, meaning you may end up harming your plants while doing nothing to the pests.

4. As a weed killer

Homemade weed killer recipes combining Epsom salt, vinegar, and dish soap have also spread across social media as a cheap, natural alternative to commercial herbicides. However, they don’t always work as advertised. You can apply enough to damage weeds, but that concentration comes with two serious drawbacks: the cost exceeds that of a conventional weed product, and the amount needed to harm weeds will poison the soil for other plants and soil life. If weeds are the problem, manual removal, mulch, and weed barriers are safer first steps; if you want a chemical solution, a product designed for that purpose will cost less and cause less collateral damage.

5. As a household disinfectant

Epsom salt is only magnesium sulfate. This compound does not kill bacteria, viruses, or fungi, which means no amount of Epsom salt, however concentrated, will disinfect a surface. Disinfectants work by chemically destroying pathogens, and Epsom salt simply lacks the properties to do that. 

For actual disinfection, reach for products that carry an EPA registration number, such as bleach solutions, hydrogen peroxide, and isopropyl alcohol, which are all inexpensive, widely available, and proven to kill germs.

6. To melt ice on driveways

Every winter, the same tip resurfaces on social media: sprinkle Epsom salt on icy driveways and walkways to melt the ice safely. The appeal is understandable;  Epsom salt is cheap, widely available, and feels less harsh than rock salt. The problem is that it barely works. Like all salts, magnesium sulfate does lower the freezing point of water, but it does so far less effectively than rock salt or commercial de-icers, which rely on sodium chloride, calcium chloride, or magnesium chloride, compounds specifically chosen for their ability to melt ice quickly at low temperatures. 

7. As a universal cleaning solution

Epsom salt is a useful tool when the job calls for mild abrasion, but reaching for it as a catch-all cleaner means doing half the job. What it cannot do is clean in any chemical sense. It won’t break down grease, lift stains, or kill germs. As noted earlier, neither magnesium nor sulfate has no antibacterial or antiviral properties, so using Epsom salt as a general-purpose cleaner leaves surfaces physically scrubbed but chemically untreated. 

The post 4 Epsom salt uses around the house (and 7 ways to never use it) appeared first on Popular Science.

  •  

How to keep ticks out of your yard

With warm weather in full swing, people and pets are spending more time outdoors. While time outside is essential for both physical and mental health, it also comes with a few seasonal downsides, bug bites among them. But not just any bites: specifically, tick bites. According to the Centers for Disease Control and Prevention, ticks cause the vast majority of vector-borne illnesses in the U.S., including an estimated 475,000 Lyme disease cases each year, far surpassing those caused by diseases spread by mosquitoes and other biting insects.

The truth is, ticks aren’t randomly scattered across lawns. In fact, they thrive in specific microhabitats. The good news is that small landscaping and maintenance changes can dramatically reduce how hospitable a yard is to them.

Why ticks love certain yards

Ticks need moisture, shade, and a steady supply of hosts to survive. And for them, the average backyard can feel like paradise. There are an estimated 899 tick species worldwide, with more than 90 found in the continental U.S. That diversity makes clear how adaptable these parasites are across different environments. Unlike mosquitoes, ticks dry out easily, so they gravitate toward humid environments like leaf litter, tall grass, overgrown shrubs, and dense ground cover where moisture lingers.

 A tick-friendly yard is basically a miniature wildlife corridor: one that provides shelter, humidity, and easy transportation for ticks to move safely between animal hosts. Ticks use a behavior called “questing,” climbing onto grass blades or low shrubs and waiting with their front legs outstretched for a passing host to brush by. Deer, mice, squirrels, and even neighborhood pets can carry ticks directly into a yard without anyone noticing. That’s why a perfectly manicured lawn alone usually won’t solve the problem.

Landscaping fixes that cut tick risk

Clear Out Damp Hiding Spots

One of the most effective ways to reduce ticks is to make your yard less hospitable to them. Ticks thrive in cool, damp environments, so piles of leaves, overgrown brush, and dense vegetation create ideal shelter. Start by removing leaf litter, trimming overgrown edges, and clearing brush near fences, stone walls, and wooded boundaries. These shaded areas protect ticks from heat and dehydration, allowing them to survive longer and wait for passing hosts.

Add a Dry Buffer

Creating a dry barrier between wooded areas and the lawn can also help slow ticks down. A three-foot strip of gravel, mulch, or wood chips acts like a miniature moat between tick-heavy habitat and the spaces where people and pets spend time. Because ticks dry out easily, they struggle to cross hot, exposed surfaces.

Mow Smart, Not Extreme

Regular mowing helps reduce humidity at ground level and makes it harder for ticks to hide in tall grass. But there’s a balance. Cutting a lawn too short can stress grass, damage soil health, and reduce habitat for pollinators. The goal isn’t a perfectly sterile yard; it’s reducing the cool, moist conditions that ticks prefer.

Limit Wildlife Visitors

Wildlife plays a major role in bringing ticks into residential spaces. Bird feeders, while enjoyable, can attract rodents such as white-footed mice, which are among the primary carriers of Lyme disease in many regions. Feeding birds during the winter, when tick activity is lower, and removing feeders during warmer months can help reduce rodent traffic. Deer-resistant plants and fencing can also discourage deer from wandering through the yard and dropping off ticks along the way.

What works and what doesn’t

The reality is that no single solution eliminates ticks completely. However, targeted pesticide treatments, when applied professionally in high-risk areas, and tick tubes, which use treated cotton to kill ticks on rodents, can meaningfully reduce tick populations when used correctly. These approaches work best as part of a broader prevention plan rather than a one-time fix.

Other popular solutions have far less evidence behind them. Ultrasonic repellents, for example, have shown limited and inconsistent results in studies, with some devices producing only weak repellency that researchers say is insufficient for reliable protection. There are “tick-repelling” plants that may slightly discourage ticks in small areas, but planting a few herbs or flowers alone will not protect an entire yard. The same goes for many DIY internet hacks involving essential oils sprayed around large properties. At best, they may offer temporary, localized effects. The most effective approach is layered and practical: reduce habitat, limit wildlife traffic, and use targeted treatments when needed.

Reduce your exposure

Tick encounters are increasing partly because warming temperatures and changing habitats are allowing some tick species to expand into new regions and remain active longer throughout the year. Even a well-managed yard can still contain ticks, so personal protection matters too. After spending time outdoors, it’s a good idea to do a full tick check on both yourself and your pets, especially around ankles, waistbands, scalp lines, and behind the knees. Wearing light-colored clothing can also make ticks easier to spot before they attach.

For extra protection, the Environmental Protection Agency recommends using EPA-approved repellents when gardening, hiking, or doing yard work. Showering soon after being outside may also help wash away unattached ticks before they bite. 

The post How to keep ticks out of your yard appeared first on Popular Science.

  •  

4 lawn options for people who hate mowing 

Most homeowners think a grass lawn is the easiest way to keep a yard looking neat. In reality, maintaining that picture-perfect sea of green relies on constant mowing, watering, fertilizing, and upkeep. Traditional lawns can become especially costly in hotter, drier climates, where keeping grass alive requires even more time and resources.

Fortunately, homeowners are beginning to realize there is another option: the no-mow lawn. Instead of relying on thirsty grass, these landscapes use low-maintenance plants that stay attractive with far less work. As heat waves, droughts, and biodiversity loss intensify around the world, more people are rethinking the traditional lawn and replacing it with sustainable alternatives.

Why traditional lawns are environmentally expensive

This growing interest in no-mow alternatives comes from the environmental costs of maintaining traditional grass lawns. Although lawns may appear harmless, they require enormous amounts of water, chemicals, and fuel to keep them green and uniform.

Outdoor landscaping accounts for a significant share of residential water use in the United States. In dry regions, lawns require constant irrigation, placing pressure on local water supplies during droughts and heat waves. Even regions that are not normally arid can experience droughts, forcing homeowners to use more water to keep their grass alive. Across the country, billions of gallons of water are used each day for landscape irrigation alone.

Moreover, traditional lawns depend heavily on fertilizers and pesticides to keep them looking uniform and weed-free. Excess chemicals from over-application wash into rivers and lakes through storm runoff and harm local ecosystems. Gas-powered lawn mowers add another environmental cost because they release carbon emissions and air pollutants every time homeowners use them. Perhaps the most overlooked environmental cost involves biodiversity. Traditional lawns create uniform landscapes that support very few pollinators, birds, or native plants.

What is a no-mow lawn? 

No-mow lawns come in a variety of textures and styles, so the definition can vary depending on the landscape. Essentially, a no-mow lawn is a landscape designed to grow slowly or remain naturally short, reducing the need for frequent mowing and upkeep. These lawns often use drought-tolerant and native grasses, ground covers, or other low-maintenance plants that require less water and fertilizer. 

A low angle view of water resistant drought-tolerant native grasses grow in a yard of a home in Colorado on a summer day with a residential home and mountain ridge in the background
Drought-tolerant native grasses grow in a yard of a home in Colorado. Image: Getty Images Nathan Bilow

Although a no-mow lawn may sound like the perfect solution, it does not mean zero maintenance. Certain varieties still require occasional trimming or seasonal care to remain healthy and attractive. However, not every no-mow option works well in every environment. Homeowners must choose plants that match their climate, soil conditions, and the amount of sunlight their yard receives.

The main types of no-mow lawns

Clover 

Clover lawns are one of the most popular types of no-mow lawns. They are typically white clover, red clover, or micro clover, each of which grows low to the ground. Because clover naturally stays short, homeowners rarely need to mow it to keep it tidy.

Clover also offers several environmental benefits. As a legume, it naturally fixes nitrogen in the soil, which reduces the need for fertilizer. It also stays green longer during dry weather and requires less water than many grass varieties. Clover flowers attract bees and other pollinators, helping support local ecosystems and biodiversity.

However, clover lawns do have some drawbacks. While pollinators are beneficial, the increase in bees may be a concern for families with bee allergies. They are also less durable than traditional grass and may not hold up well under heavy foot traffic or frequent outdoor activity.

red clover flower
Red clovers (Trifolium pratense) produce pink-purple flowers. Image: Getty Images Herbert Berger

Meadow or wildflower 

Meadow or wildflower lawns replace traditional grass with a mix of native grasses and flowering plants. Unlike conventional lawns, these landscapes are designed to mimic natural ecosystems and require far less mowing once they become established. 

One of the greatest benefits of meadow lawns is their support for biodiversity. Native flowers and grasses provide food and shelter for pollinators, insects, and birds. These lawns also contribute to “rewilding,” a landscaping approach that restores natural habitats and encourages urban biodiversity by bringing native plant and animal life back into developed spaces. Because meadow lawns grow more naturally, homeowners may only need to mow them once or twice a year, if at all.

However, meadow lawns can present challenges. Their wilder appearance may seem untidy to some homeowners or violate certain homeowners’ association (HOA) rules. Also, meadow lawns change with the seasons, so they may not remain consistently green or colorful year-round. 

Creeping ground covers

Creeping ground covers are a somewhat unconventional alternative to traditional grass lawns. Common examples include creeping thyme, sedum, Irish moss, and Corsican mint. Unlike turf grass, these plants spread horizontally rather than growing upward, allowing them to stay naturally short with very little mowing or trimming. Many ground covers also produce small flowers or pleasant fragrances, making them attractive additions to outdoor spaces.

Man touching plant Creeping Thyme in forest feeling soft surface
Creeping Thyme can create a soft surface. Image: Getty Images Dmitrii Marchenko

Creeping ground covers work well in small yards, decorative spaces, or garden pathways where appearance matters more than durability. Because these plants add texture and color variation, they are often paired with stone walkways, gravel, or other landscaping features to create a more natural, visually appealing design.

Keep in mind that creeping ground covers are not perfect replacements for traditional turf grass. Some varieties cannot tolerate heavy foot traffic and may become damaged if children or pets regularly play on them. They look best when incorporated with other design elements, such as stone paths or garden borders, rather than used as a large standalone lawn replacement.

Slow-grow grasses

Some homeowners want the environmental benefits of a no-mow lawn without giving up the traditional appearance of grass. For these homeowners, slow-growing grasses offer a practical middle ground. 

Popular options include buffalo grass, fine fescues, and specially designed slow-grow turf blends. These grasses grow more slowly than conventional turf varieties and provide several environmental advantages. While technically these grasses are not zero-mowing, they require less maintenance. Because they grow more slowly, homeowners may need to mow them only a few times each season. Their traditional appearance also makes them a popular choice in neighborhoods with strict HOA rules.

The future of lawns

As our definition of the ideal lawn changes, more homeowners will likely embrace no-mow alternatives. Homeowners no longer define the perfect yard by neatly trimmed grass alone but by landscapes that conserve water, support biodiversity, and adapt to changing climates. The yard of the future may focus less on controlling nature and more on working with it.

The post 4 lawn options for people who hate mowing  appeared first on Popular Science.

  •  

How to remove bamboo from your yard

Bamboo may feel like an easy landscaping win because it’s a fast-growing privacy screen that can turn a plain yard into a lush retreat. But then a few shoots start popping up in random places all over your yard. Before long, they’re pushing through flower beds, lawns, and even neighboring yards. What looked like a landscaping dream can quickly become a problem.

Stories of runaway bamboo have gone viral online, with some homeowners spending thousands trying to remove it. So, is all bamboo invasive? Not exactly. Some species grow in slow, manageable clumps, while others spread aggressively underground through fast-growing stems. The key is to identify what kind of bamboo you’re dealing with and act before it takes over.

How to Identify the Type of Bamboo Growing in Your Yard

Not all bamboo behaves the same way. There are two main categories: running and clumping. Both are members of the grass family Poaceae, but unlike the soft turf grasses in your lawn, bamboo grows thick, woody stalks called culms. Species range from small, groundcover-like plants to towering varieties that reach nearly 100 feet in height.

Root bamboo in garden.
Bamboo stalks are thick beasts. Image: Shutterstock DISGO99

Running bamboo

There are many species of running bamboo, but they all behave in a similar way: they spread aggressively underground through fast-moving rhizomes. The species that causes the most trouble for homeowners in the U.S., especially across the Southeast, is Phyllostachys aurea, better known as golden bamboo. It’s considered one of the most invasive bamboo species in North America.

Running bamboo rhizomes can travel surprisingly far from the original plant before sprouting new shoots. Those rhizomes store energy for the plant, which is why simply cutting down visible stalks rarely solves the problem. Left unmanaged, running bamboo can rapidly colonize your entire yard and neighborhood.

Clumping bamboo

There are also several species of clumping bamboo, though they tend to behave much differently from running varieties. One popular example is Fargesia robusta, which is often grown for its cold hardiness and more manageable growth habit. No matter the species, clumping bamboo generally grows slowly outward in tight clusters rather than spreading long distances underground.

That makes clumping bamboo easier to control and far less likely to become a neighborhood-wide problem. While it still spreads through rhizomes, the underground stems remain compact and close to the parent plant rather than racing across a yard.

Get Expert Advice

If you can not tell by visual cues alone, no worries. Take photos of shoots, leaves, and stalks, and contact your local county extension offices to help identify the species. Extension experts can often confirm the type. Although you can try using plant ID apps, keep in mind they aren’t always accurate; they can still be useful starting points.

A bamboo shoot emerge from dirt
A bamboo shoot emerges from dirt. Should you panic? Not yet. Image: Getty Images Meta

Why Bamboo is so Difficult to Remove 

What makes bamboo so frustrating to eliminate is its massive underground network of rhizomes, which fuels its growth. These root-like stems spread beneath the soil in multiple directions, storing energy and sending up new shoots far away from the original plant. In running bamboo species, that underground web can quietly expand for months before homeowners realize how far it has traveled.

What about just mowing it regularly or cutting it down? That may temporarily weaken the plant, but it can also trigger fresh shoots as the rhizomes tap into their stored energy reserves. That solution only works on the surface. Even small fragments left behind in the soil can regrow into entirely new plants.

In warmer regions like the Southeast United States, invasive bamboo has become such a persistent issue that some municipalities now regulate where it can be planted. Fully removing established bamboo often requires repeated digging, cutting, or chemical treatment over months or even years.

How to Remove Bamboo

If bamboo has started spreading through your yard, the good news is that you probably do not need heavy machinery immediately. The bad news is that waiting too long can turn a manageable project into a years-long battle. The right removal method depends on how large the infestation is, how long it has been growing, and how much labor you are willing to take on.

Method 1: Manual removal

This method works best for small or early infestations. The goal is to dig out as much of the underground rhizome network as possible by cutting down visible stalks and removing the thick stems beneath the soil. 

The biggest advantage is that it does not require herbicides and can permanently eliminate smaller patches if done thoroughly. The downside is that it is extremely labor-intensive, and even small rhizome fragments left behind can resprout later. Because of that, manual removal requires ongoing monitoring. Homeowners need to check the area for months and quickly remove any new shoots before the bamboo has a chance to recover and spread again.

Method 2: Cutting and starving the plant

This method is best for long-term control and ongoing maintenance rather than quick removal. It works by repeatedly cutting down new shoots before they can grow leaves. Without leaves, the bamboo cannot photosynthesize efficiently, which slowly drains the energy stored in the underground rhizomes. The advantage is that it avoids herbicides and can weaken even large patches over time. The downside is that progress is slow and often requires multiple growing seasons. If you miss even a few cutting cycles, the bamboo can recover and continue spreading.

Method 3: Herbicide treatment

This method is best for large, established patches that have spread beyond easy digging. Glyphosate-based herbicides are commonly used because the plant can carry the chemical from actively growing leaves down into the underground rhizome system. The advantage is that herbicides can help weaken dense infestations that would be difficult to remove by hand alone. The downside is that complete removal usually requires repeated applications rather than a single treatment.

Chemical control also comes with tradeoffs. It is important to follow local regulations, avoid spraying near waterways, and consider the potential ecological impact before using herbicides as part of a removal strategy.  

Method 4: Professional removal

This method is best for severe infestations, especially when established bamboo has spread beneath fences, patios, driveways, or neighboring properties. Professionals may use excavation equipment to remove large underground rhizome networks and install root barriers to help prevent the bamboo from returning. The biggest advantage is that it can fully address infestations that are too extensive for most homeowners to manage on their own. The downside is cost, as professional removal can quickly become expensive, particularly when excavation or property repairs are involved.

The post How to remove bamboo from your yard appeared first on Popular Science.

  •  
❌