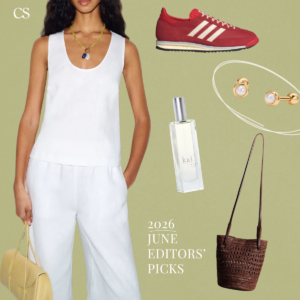
The June Edit: What Our Editors Are Obsessed With This Summer
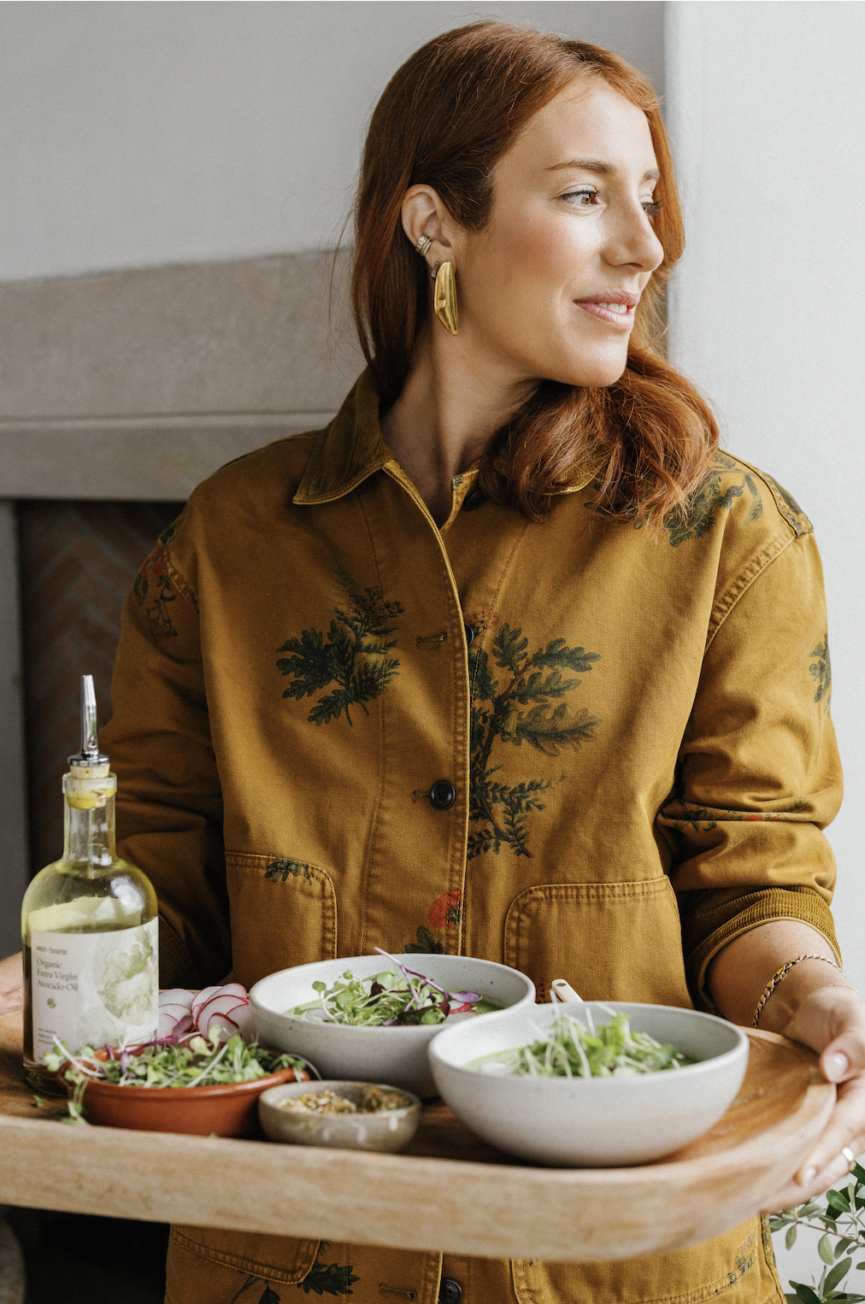
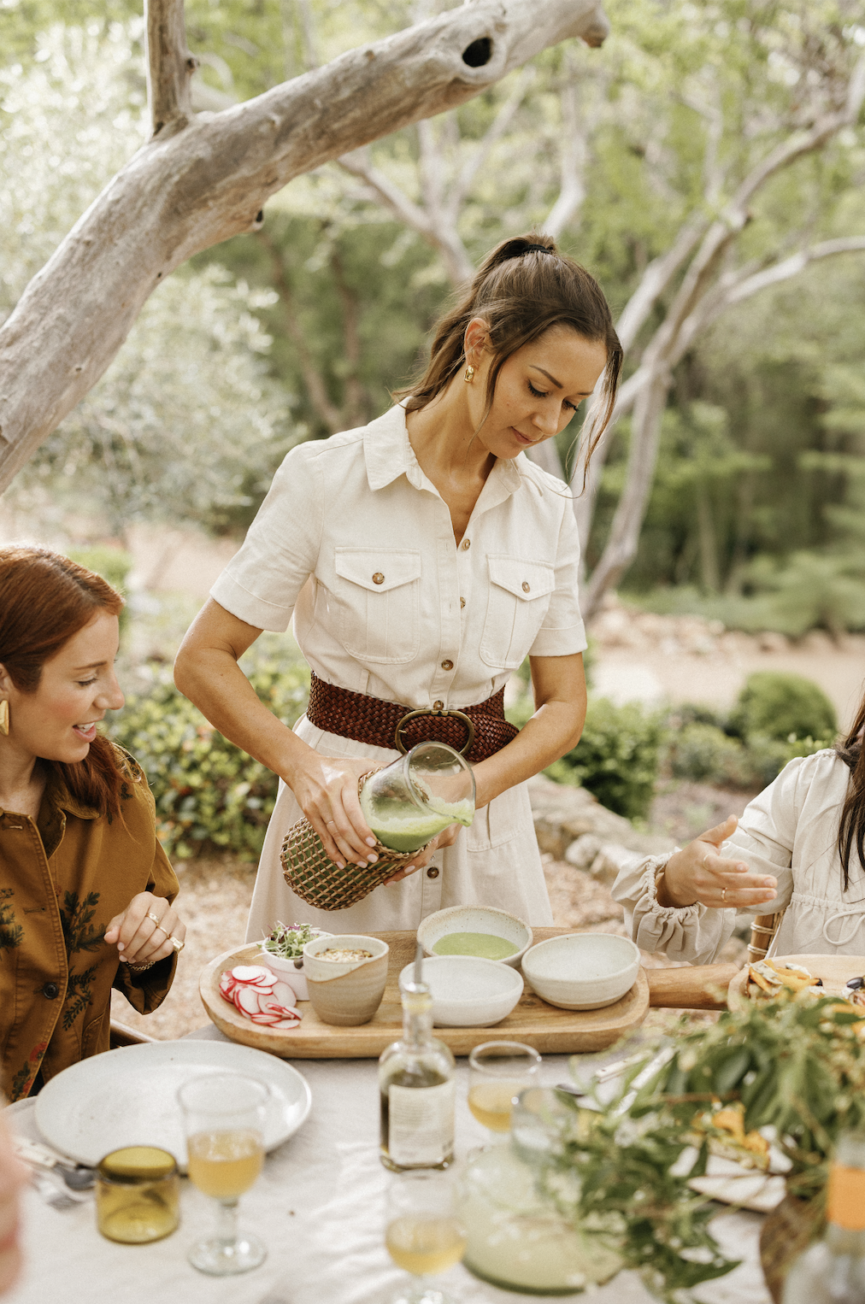
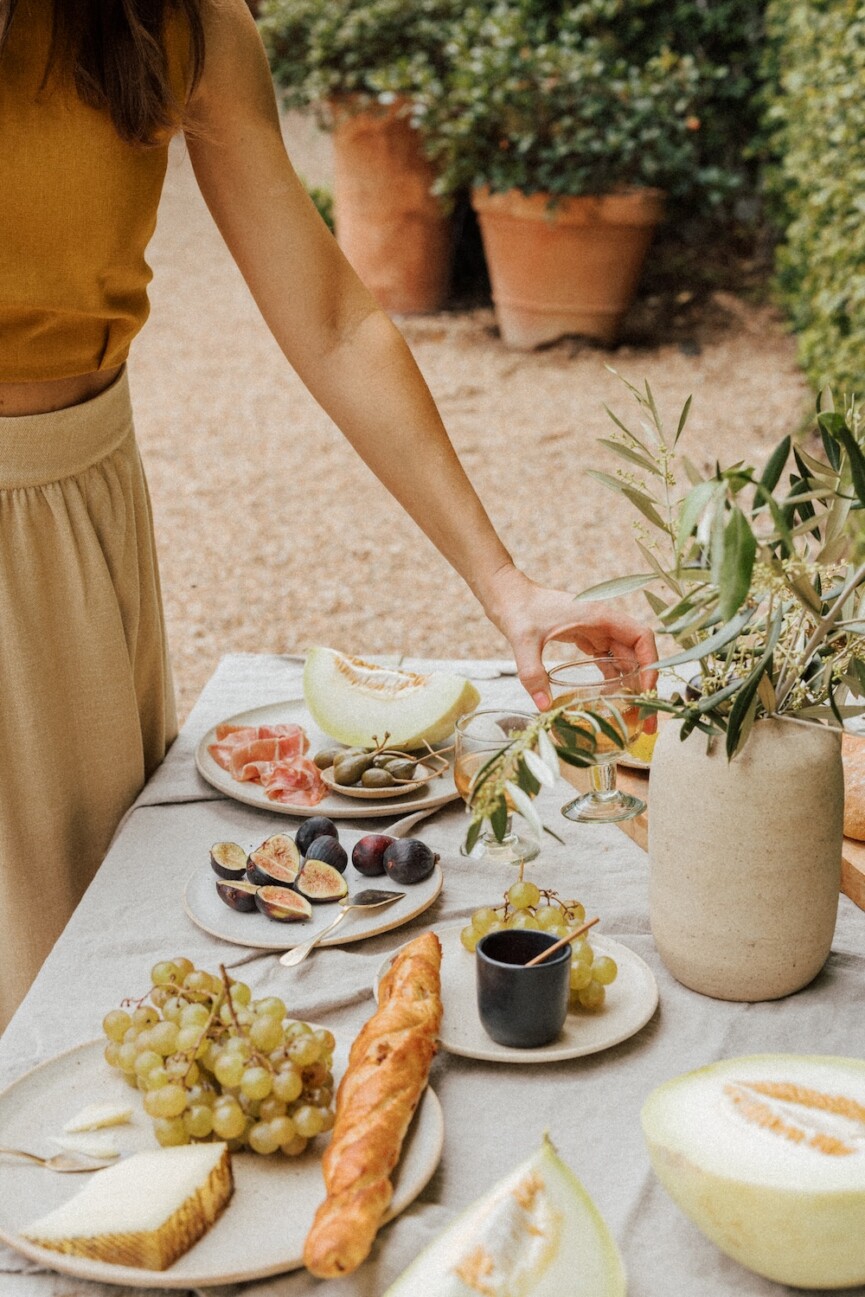
Something shifted the moment we arrived at the beach house. Slower mornings, dinners outside, salt air coming through every window—these first few weeks have felt like a deep exhale and exactly what I’ve been craving.
It feels right that our June issue of The EDIT is all about dreams—because summer, wherever you find it, feels made for them. We put so much love into this one. This month’s Editor’s Picks are an extension of that same energy—the things we’re reaching for as summer fully arrives. Warm-weather dressing, beauty finds that work with the sun instead of against it, and a few pieces for the home that make everyday life feel like exactly where you want to be.

Fashion
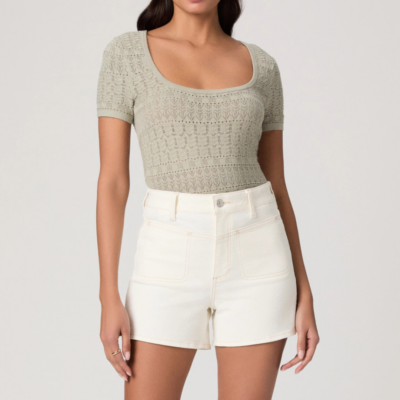
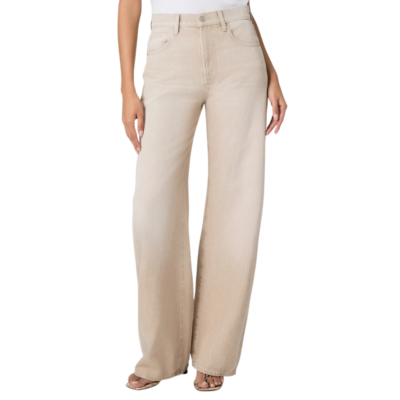
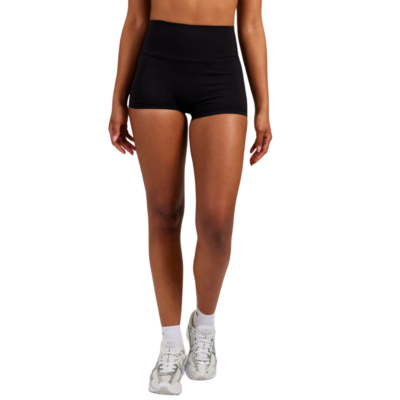
The Shorts I’m Living In
These have replaced every other pair of shorts in my rotation. The rise is exactly right—high-waisted without being stiff—and the Toasted Ecru is the warm neutral I keep reaching for all summer. I grab these first, every time. — Camille Styles, Editor in Chief
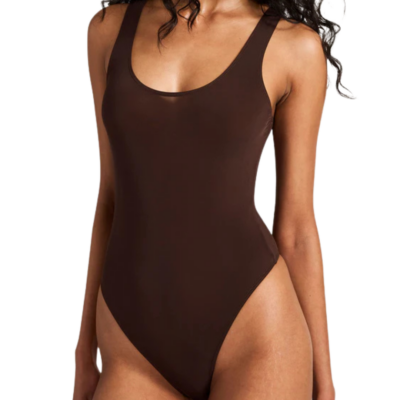
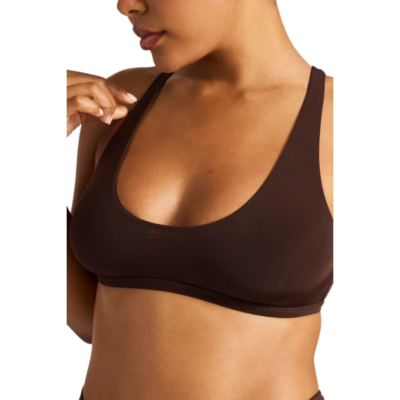
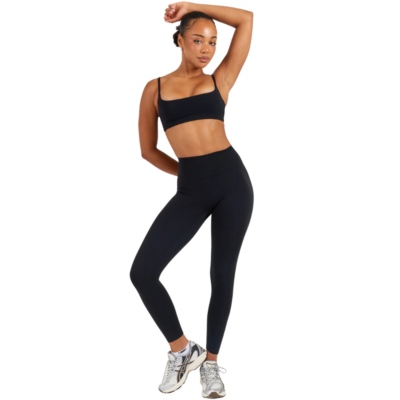
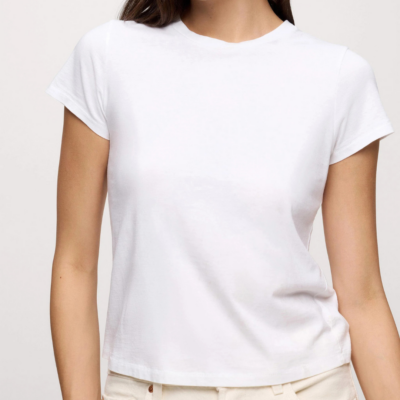
My Strappy Top Secret
The bra I wear under every summer tank. The racerback disappears completely under strappy tops, it’s comfortable enough to forget about, and the fit gives the most natural, effortless shape—which is exactly the point in summer. — Camille Styles, Editor in Chief

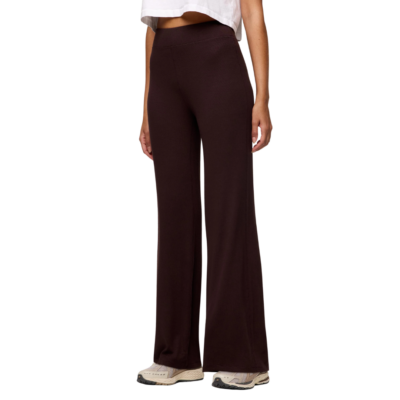
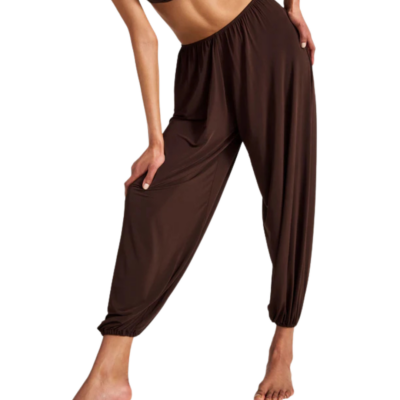
The Comfiest Closet Staple
Since I was wearing my olive pair multiple times a week, I finally added the espresso. The comfiest pants I own — and the ones I get the most compliments on. — Camille Styles, Editor in Chief
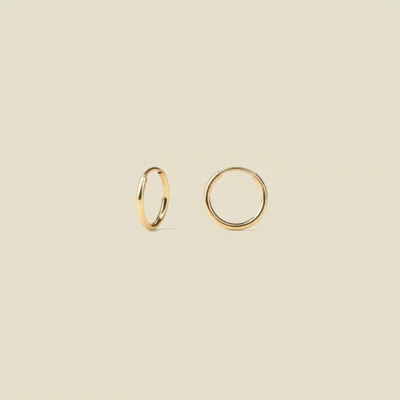
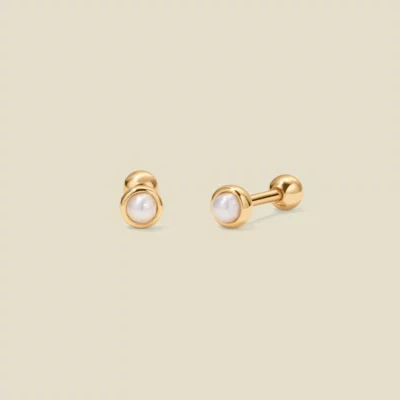
The Easiest Summer Stack
I just redid my earring stack for summer and I’m officially obsessed. I wanted pieces I could throw on with a white tee, a swimsuit, or a dinner dress and never have to think twice about—and these from Made by Mary are exactly that. The Live-In Hoops are lightweight enough to truly wear every day, and the Pearl Bezel Studs add the prettiest soft glow without feeling overly precious. Simple, effortless, and somehow make every outfit feel a little more pulled together in that “I didn’t try too hard” kind of way. — Anna Decker, Social Media & E-Commerce Manager
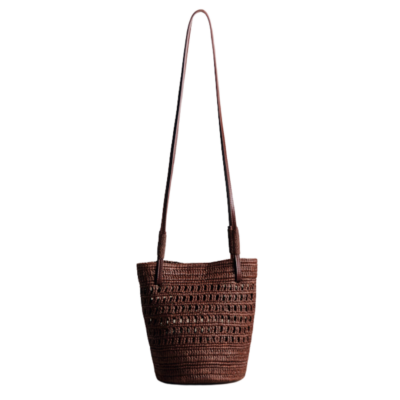
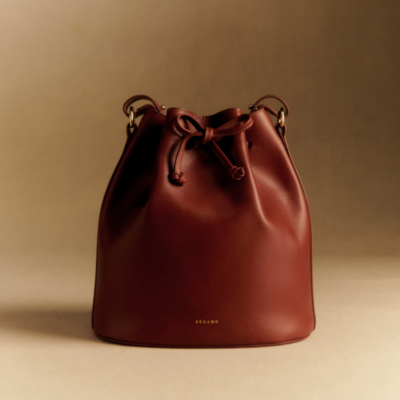
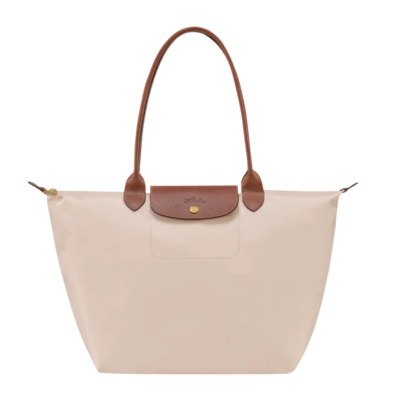
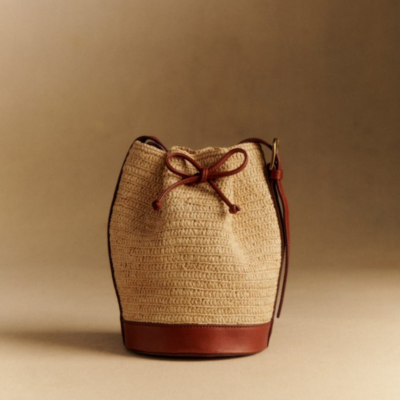
Summer’s Most Versatile Bag
The bag I’ve been carrying daily. The leather trim makes it feel more intentional than a typical straw bag but it has all the same breezy summer energy — farmers market in the morning, dinner in the evening. — Camille Styles, Editor in Chief
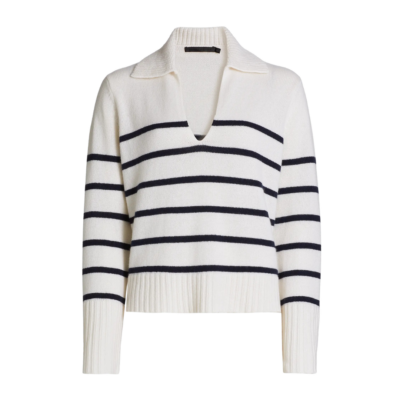
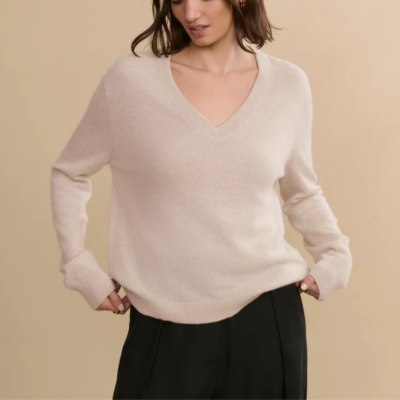
Day-to-Night Essential
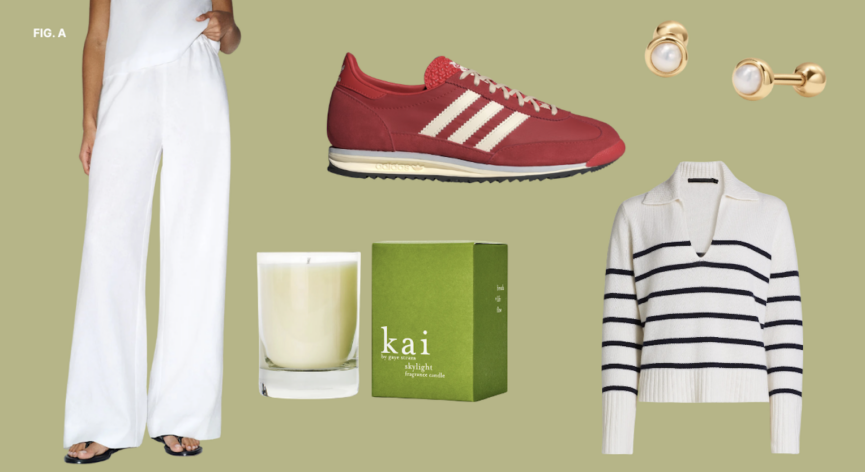
The polo I’ve worn to everything from casual lunches to dinner out this summer. The cashmere blend is lightweight enough for warm evenings, the vintage cut is exactly what a polo should be, and it’s one of those pieces that looks more considered than it takes to pull on. — Camille Styles, Editor in Chief
My Whimsical Girl Summer Wardrobe
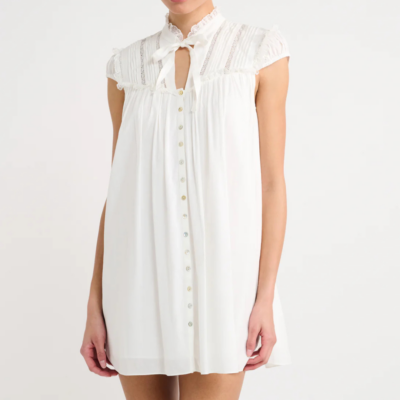
If you keep close tabs on my monthly picks, you know Rumored has basically taken over my closet at this point—and I have zero regrets. A couple of months ago I spotlighted the Portofino Maxi Dress (which I immediately lent to a friend who wore it to a wedding—compliments reported back, obviously). This month I’m adding the Olive Grove Mini Dress to the collection. The babydoll fit, the collar, the neck-tie bow—it looks like something my grandmother would have hand-sewn, and I mean that as the highest possible compliment. Catch me frolicking through a meadow in this. I have plans.
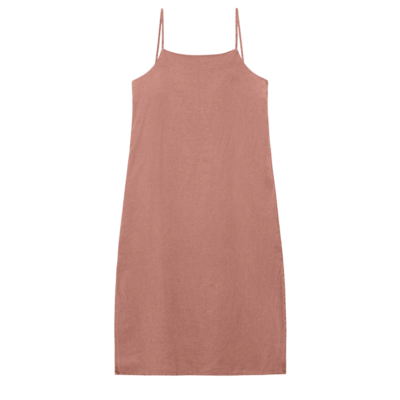
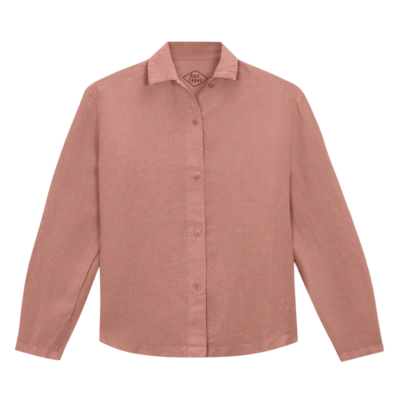
Also in heavy rotation this month: two pieces from the Alex Crane x Caroline Z Hurley capsule—a limited-edition collection brought to us by a husband-and-wife duo—chic!. The Penny Slip in Rose is my new throw-it-on-and-forget-it dress (except I’m constantly thinking about how cute I look, so… ). I’m petite, so it hits a little longer on me, but the side slits save the day. And the June Button-Up in Rose? I wear it unbuttoned over the slip as a warm-weather jacket alternative. Monochromatic dressing is genuinely the easiest way to look chic—and chic I absolutely look. — Isabelle Eyman, Editorial Strategist

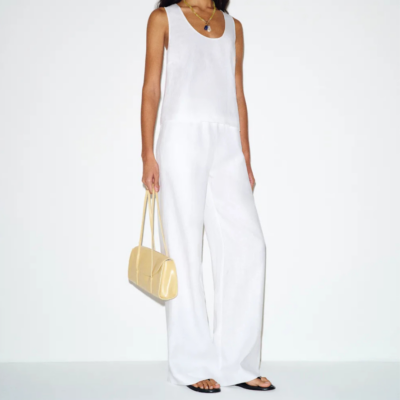
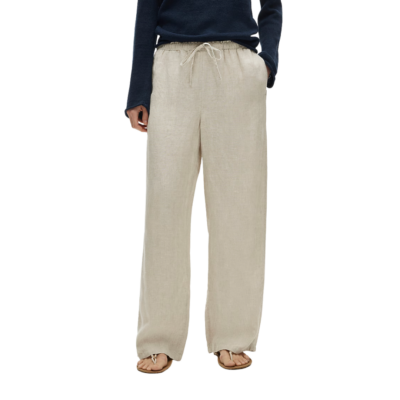
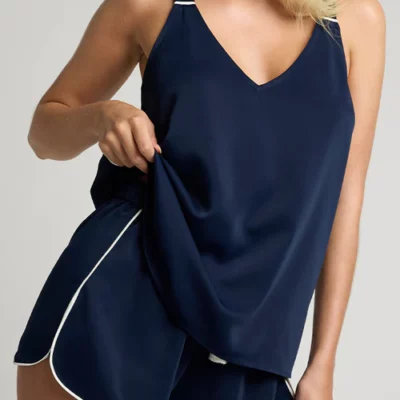
Matching Set Season
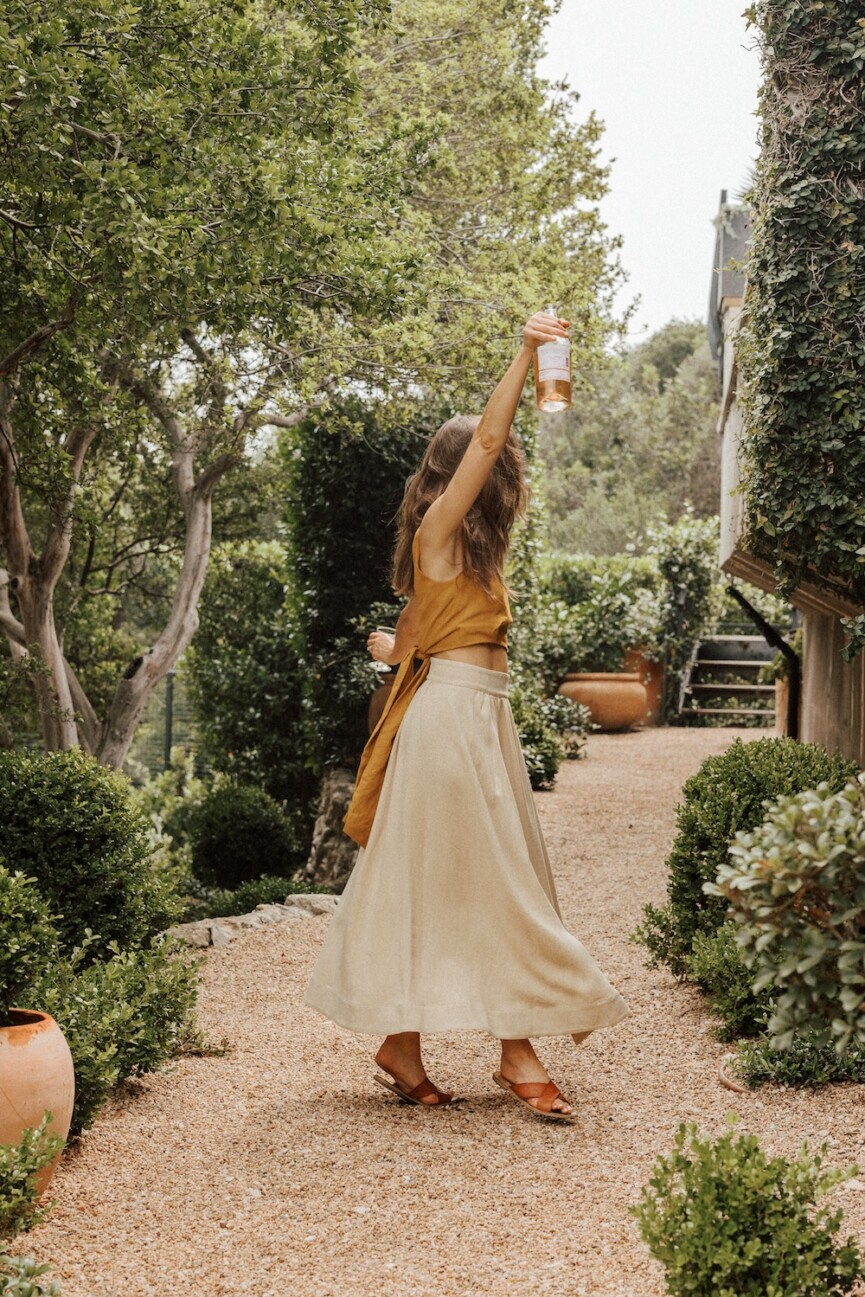
Summer dressing has its own kind of ease, and for me, nothing embodies it quite like a matching set. Linen, cotton, poplin, lace—I’ll take all of them. If sweats are my winter uniform, a lightweight set is the warm-weather version. It has the same effortless feel, but somehow makes me look instantly pulled together. I feel a little more polished, a little more confident, and a lot more ready for the day ahead. They’re endlessly versatile, too: paired with ballet flats and sunglasses for dinner plans, layered over a swimsuit with flip-flops for a beach day, or worn on travel days and slower office mornings. They’ve become the pieces I return to again and again because they work for almost every kind of summer day. Consider this a case for building a small rotation of go-to sets—future you will appreciate the ease every morning. — Bridget Chambers, Fashion Editor
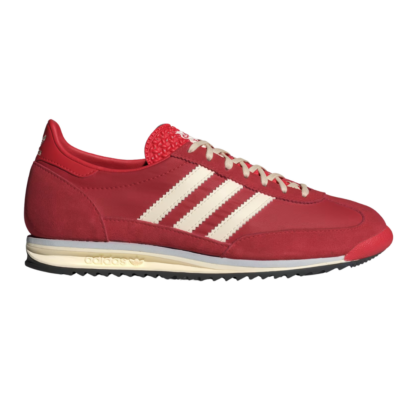
Summer’s Coolest Color Combo
These are officially my summer 2026 shoes. I tend to shy away from classic white sneakers this time of year (life with two little boys!), but the Better Scarlet color is SO good. I’ve been wearing them nonstop with jean shorts or Free People’s Red Clay chino trousers for a monochrome look. They’re lightweight, comfy, easy to throw on for errands or the playground, and just have that cool retro vibe without feeling overly trendy. — Edie Horstman, Wellness Editor

Big Bag Girl Energy Essentials
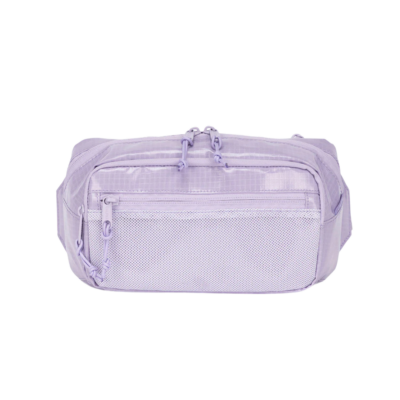
Two things are forever true about me: I am always on a walk and I must always be able to speak freely with my hands in expressive gestures. The Terra Small Sling Bag in Amethyst is my savior. Water-resistant, hands-free, and cute enough that I’d wear it to run errands or on a hike—or on a hike between running errands. High standards, fully met.
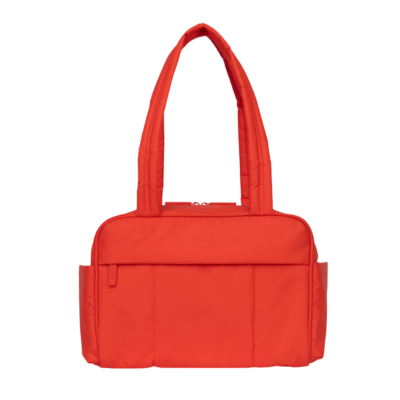
And then there’s the Luka Mini Duffel in Tomato. Tomato Girl Summer may have been a passing trend to some, but for me, it’s a way of life. My conclusion from the color analysis I still need to do is that I look amazing in red, and this pop of color is exactly what every outfit needs. She fits my huge water bottle and the three books I keep on rotation with space to spare—roomy, puffy in the chicest way possible, and luxe enough that I never want to apologize for carrying her at all times. In fact, this is usually how I greet my friends: “Hi, so good to see you, look how gorgeous my bag is.” — Isabelle Eyman, Editorial Strategist
Home
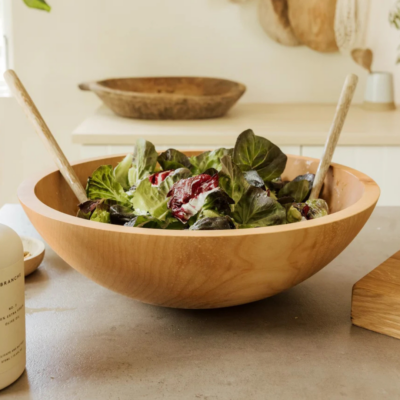
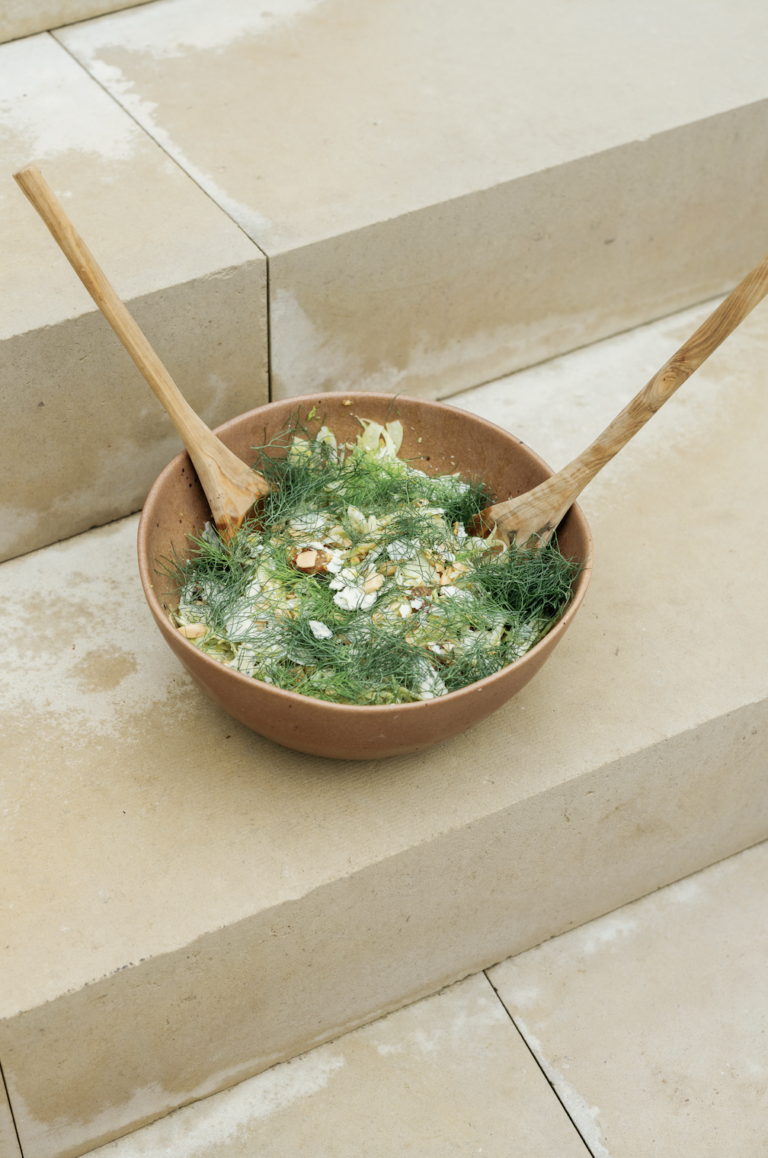
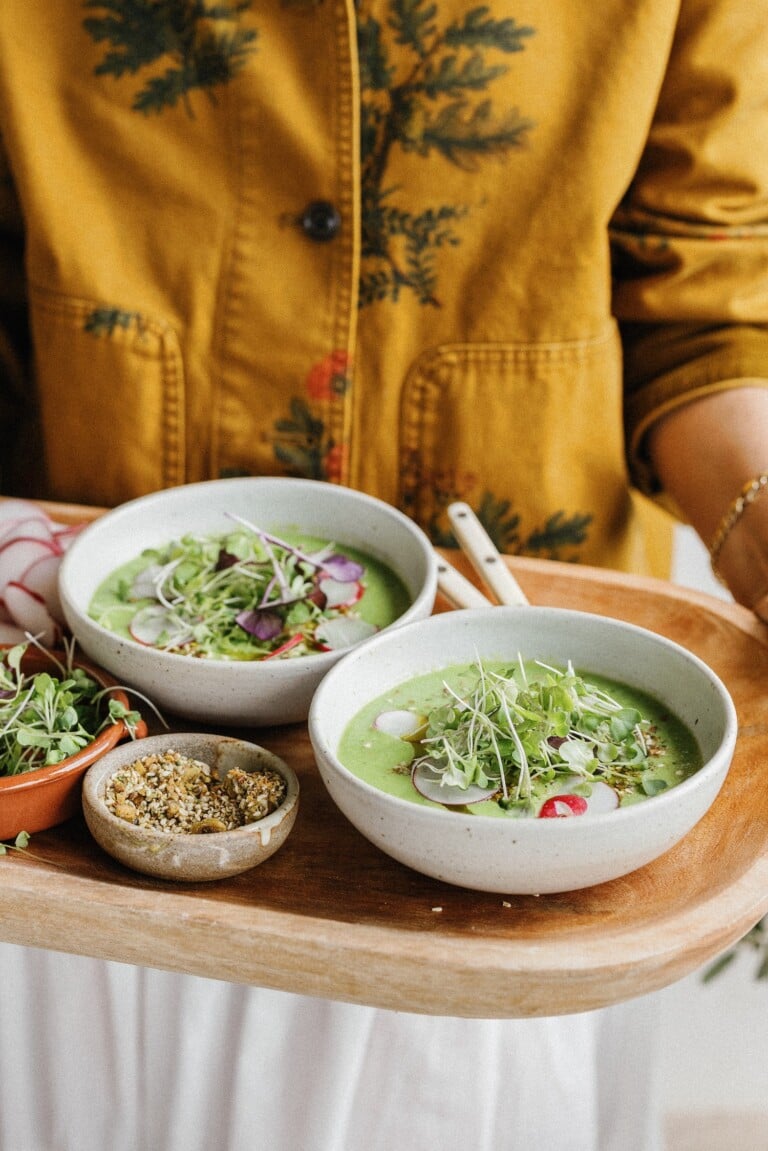
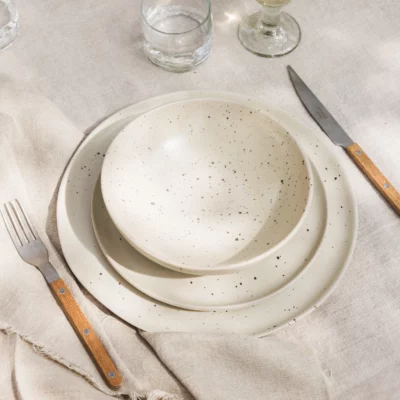
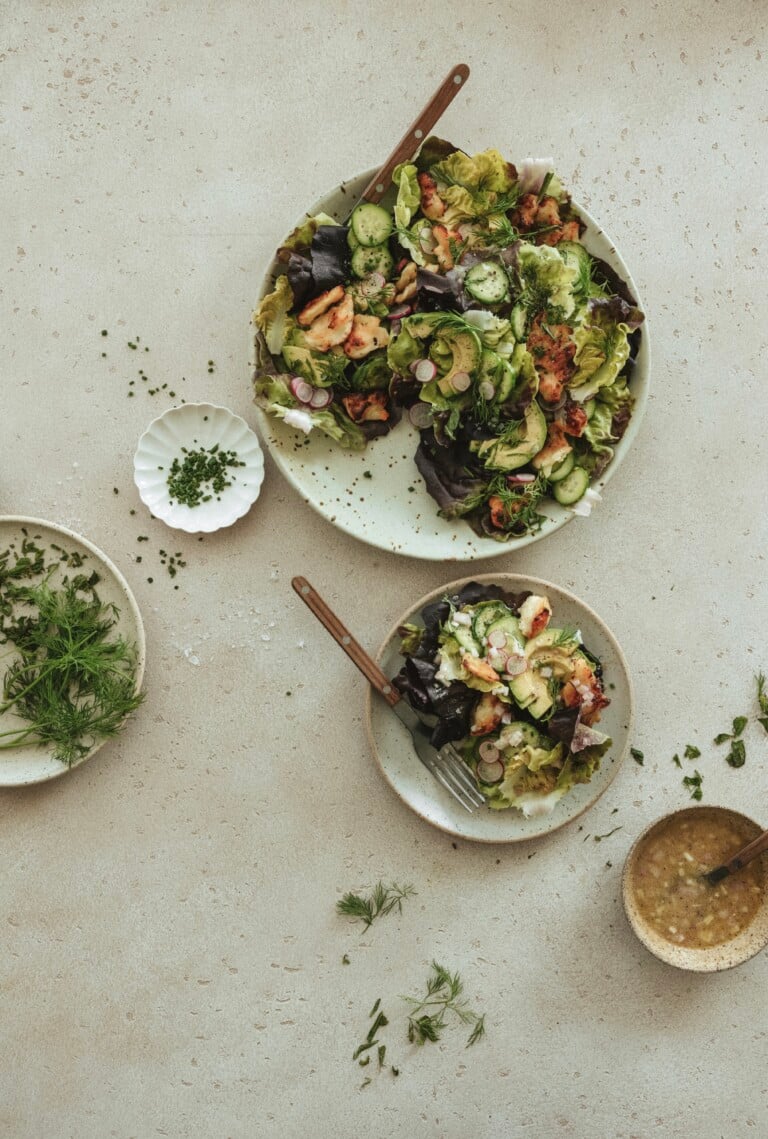
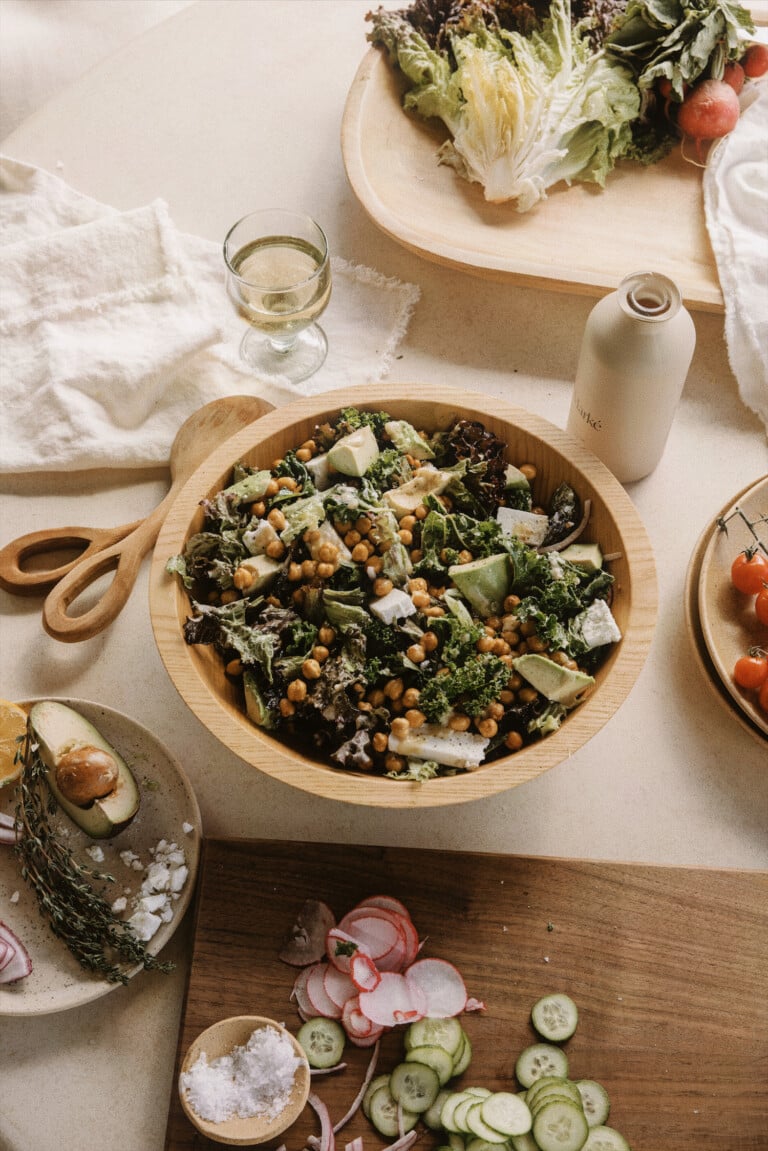
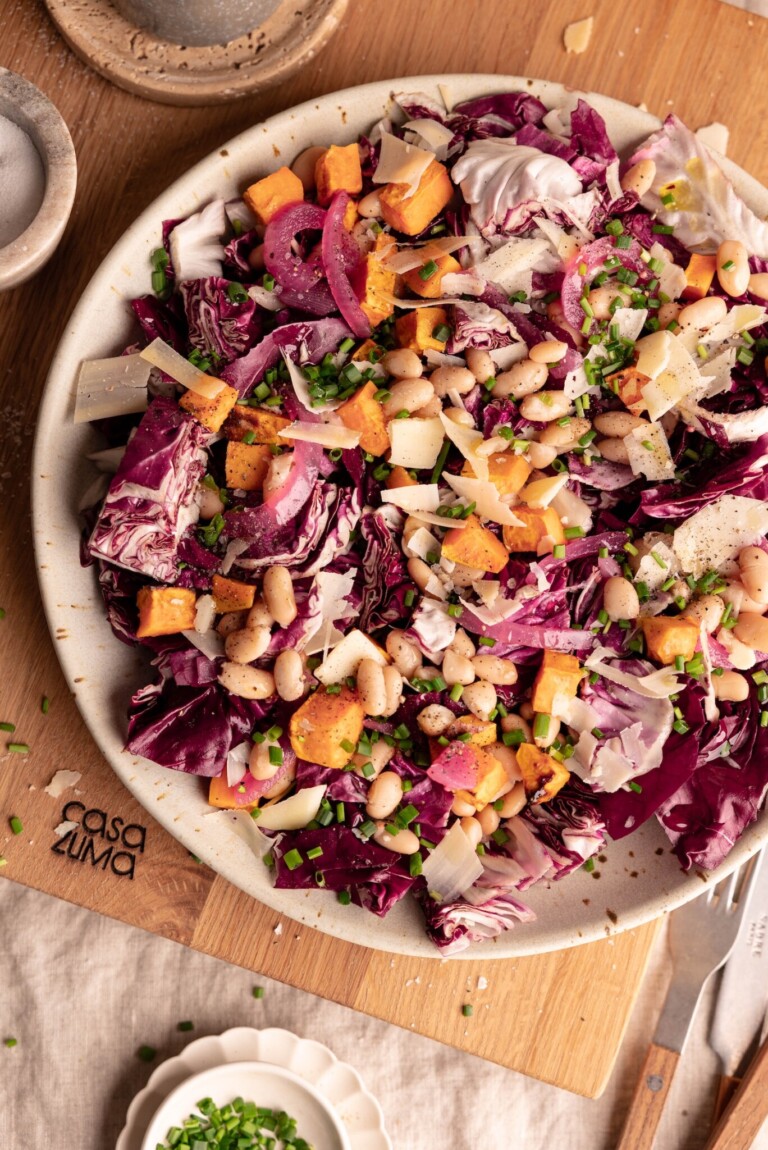
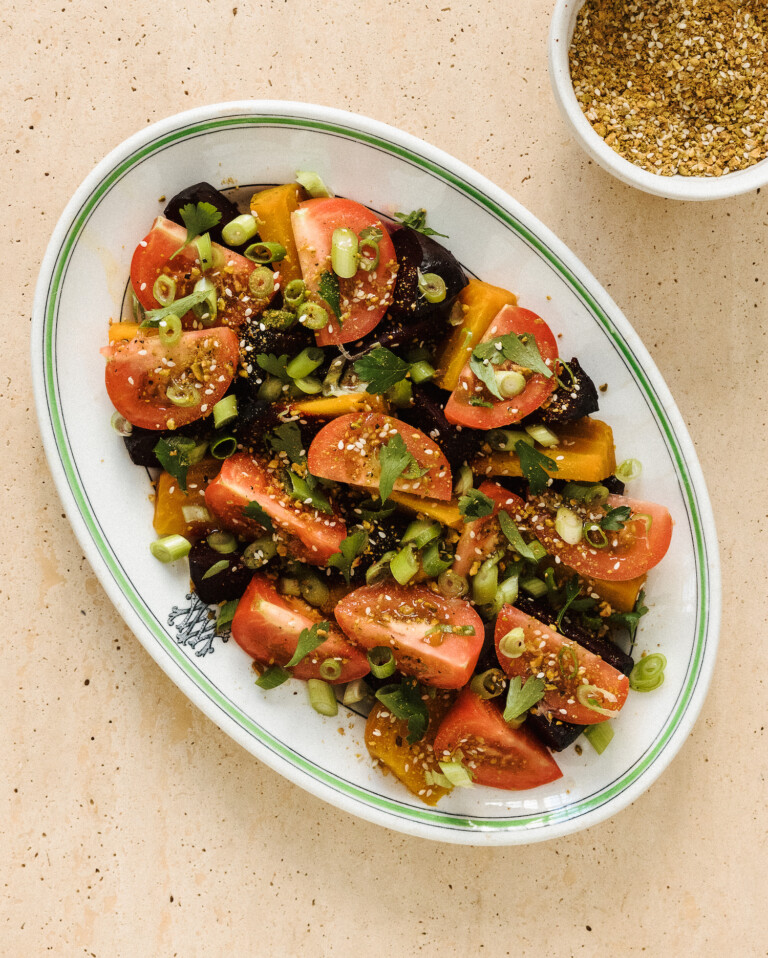
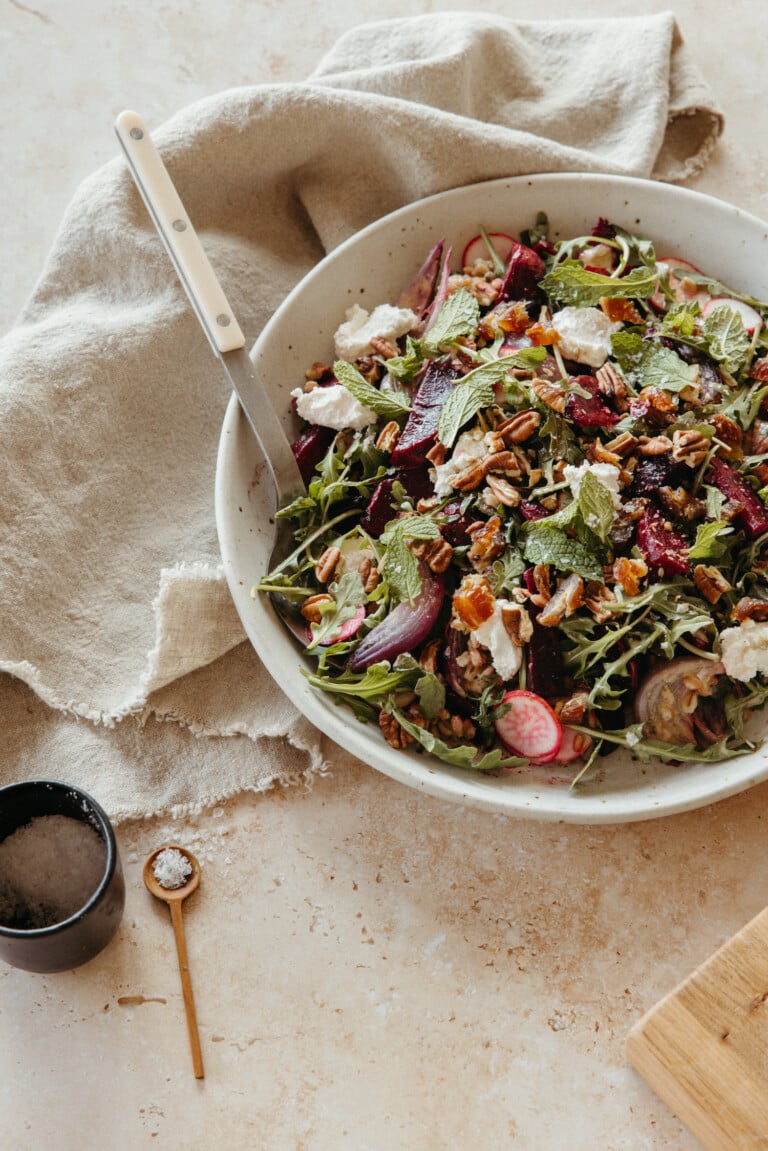
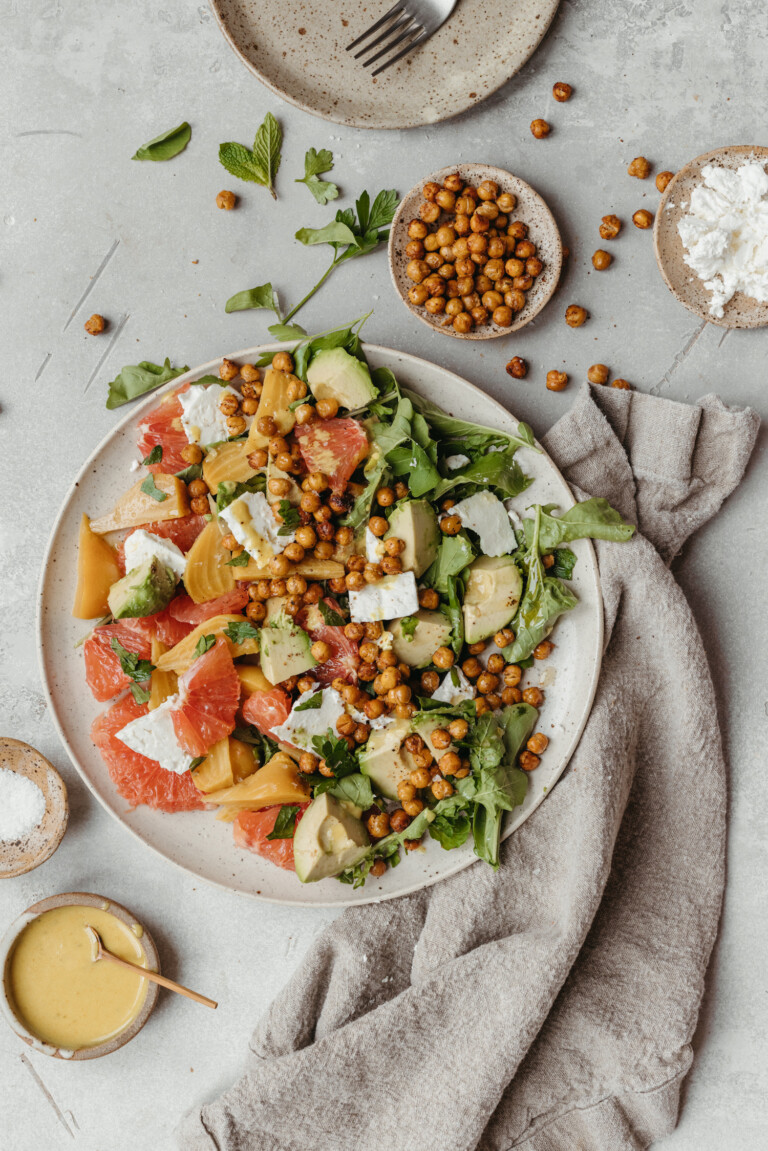
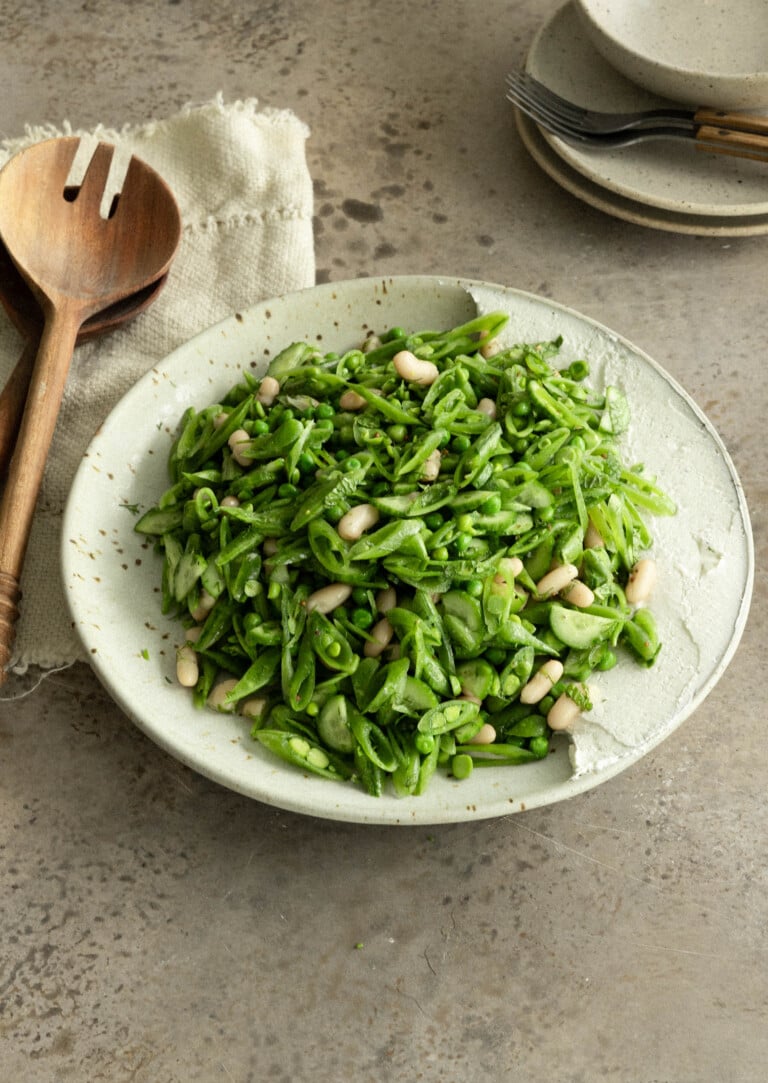
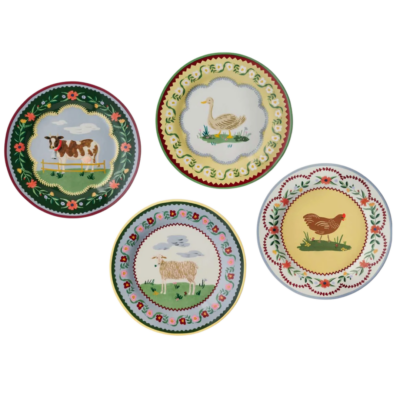
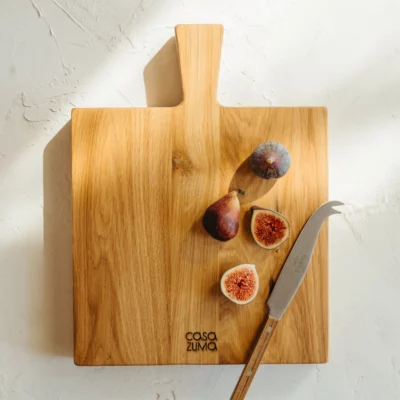
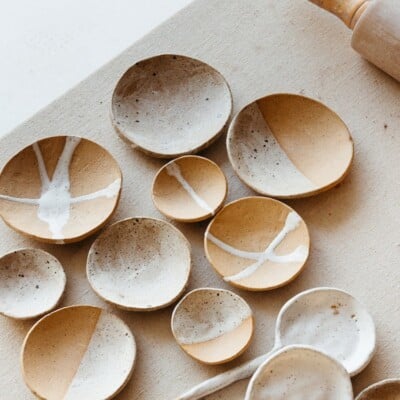
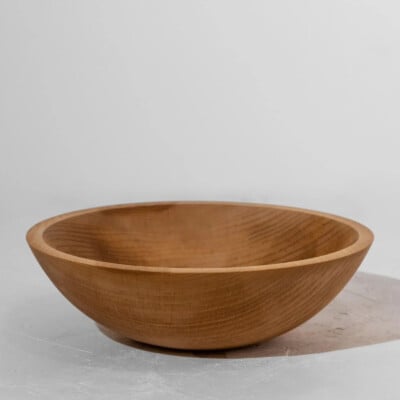
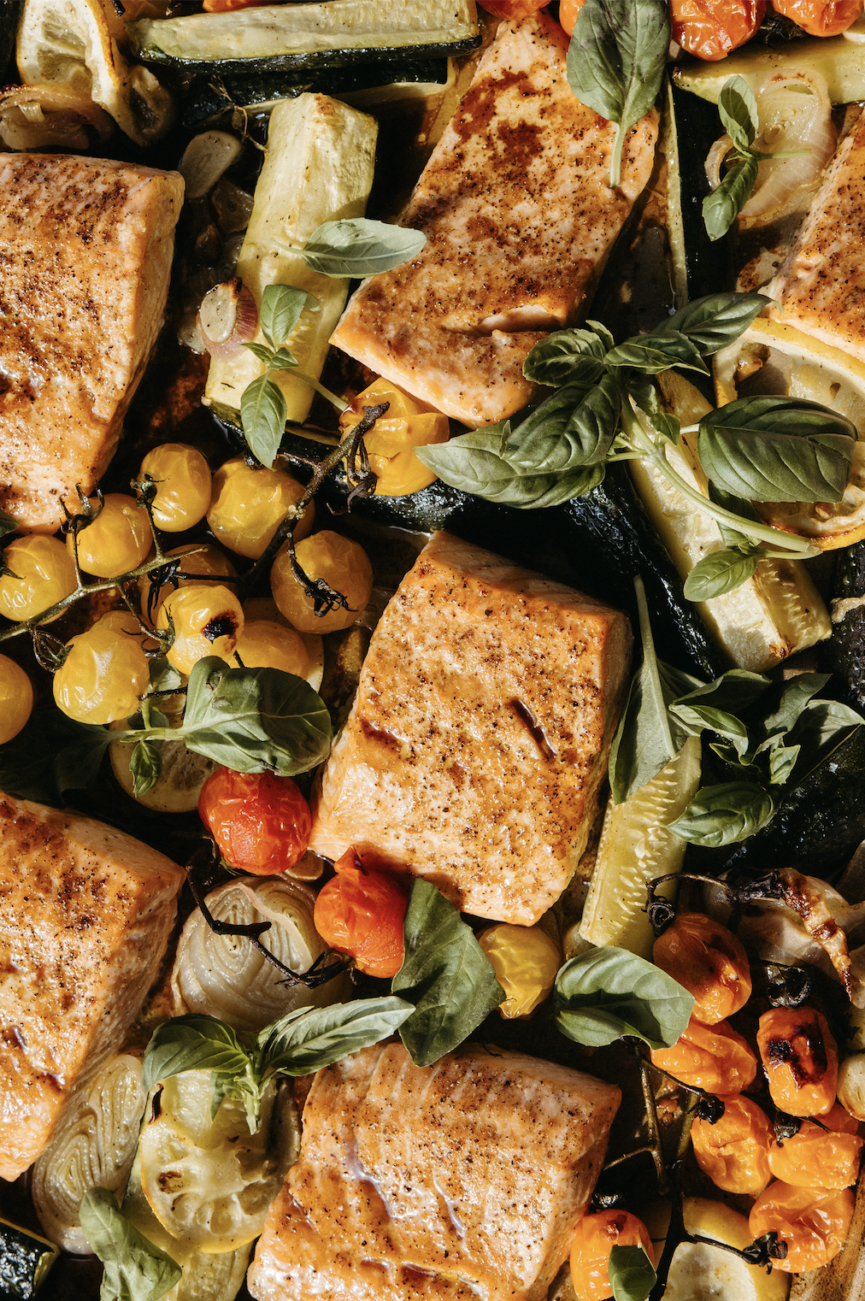
Salad Nights Made Better
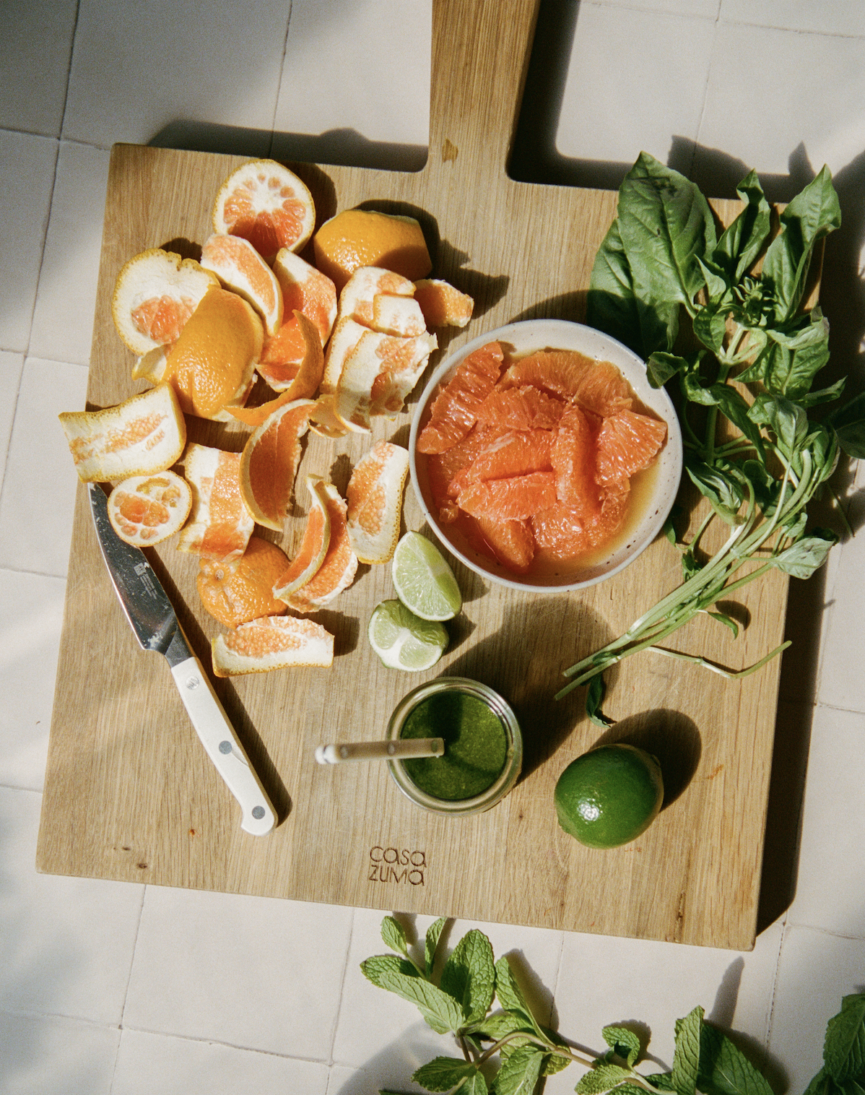
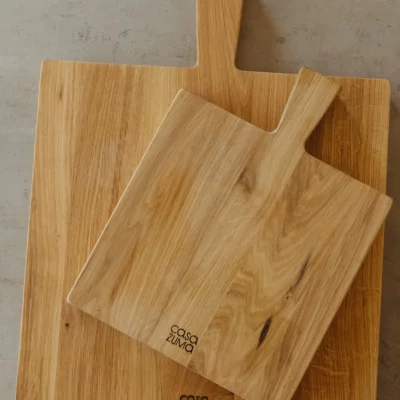
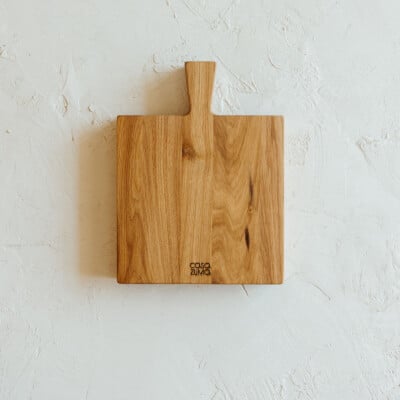
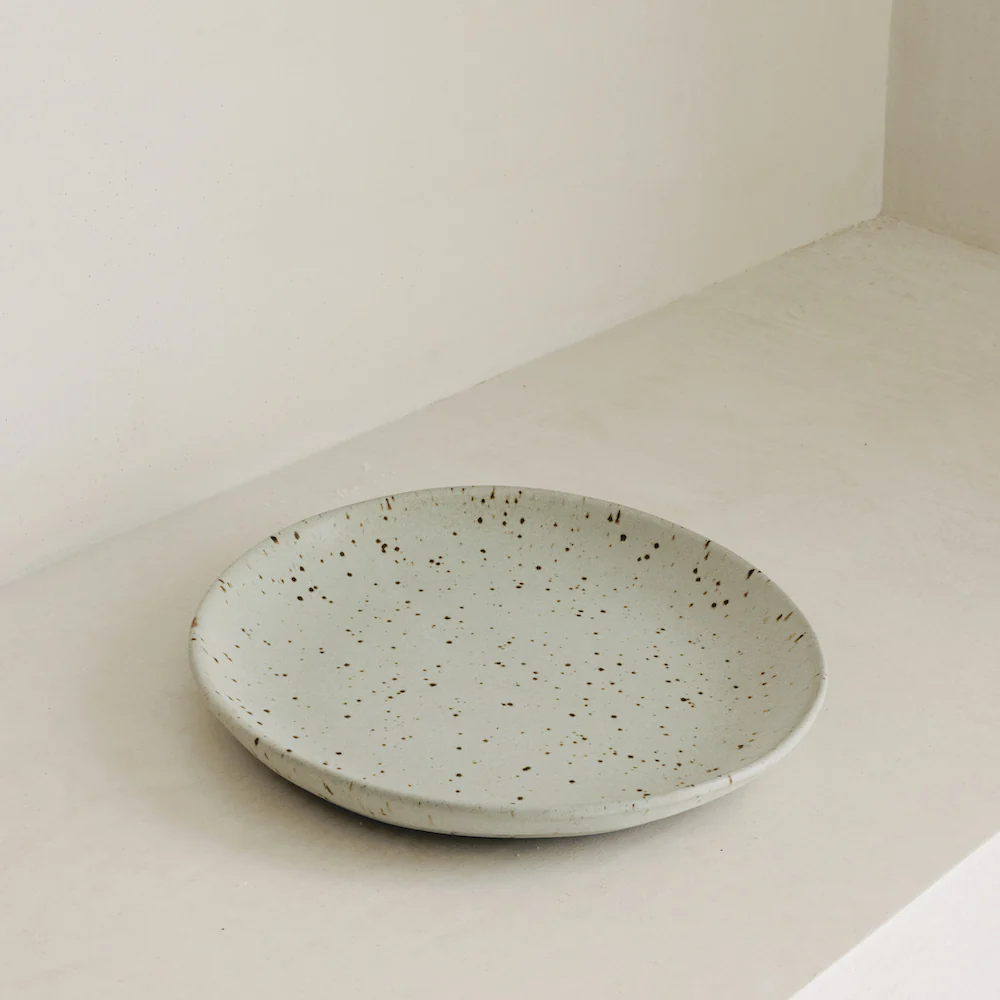
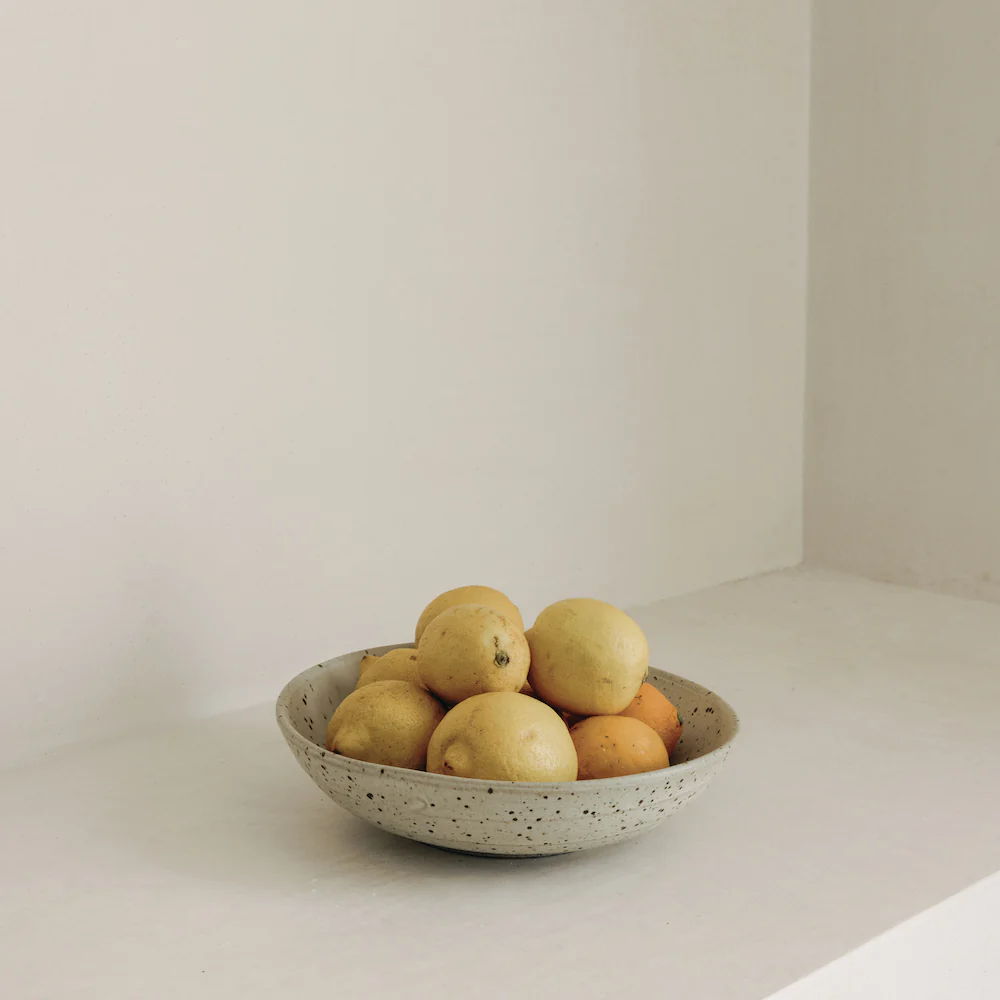
Handcrafted wood salad bowls are back in stock at Casa Zuma in almost all sizes. This is one of the most frequently-used items in my kitchen, and especially during farmers-market season, it’s on our dinner table every night filled with whatever greens and produce are in season. — Camille Styles, Editor in Chief
Cookware Worth Coming Back To
Setting up our Malibu kitchen with the pots and pans I keep coming back to. I’ve had Caraway for years and wasn’t starting over with anything else—the black might be my favorite colorway yet. Non-toxic, effortless to clean, and they make the kitchen feel pulled together from day one. — Camille Styles, Editor in Chief

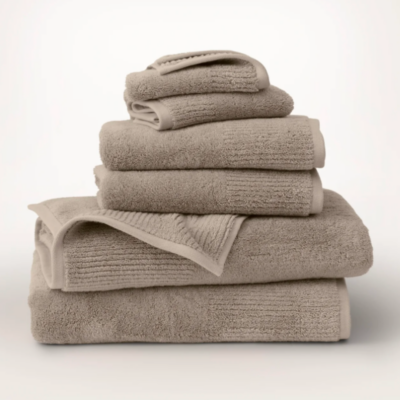
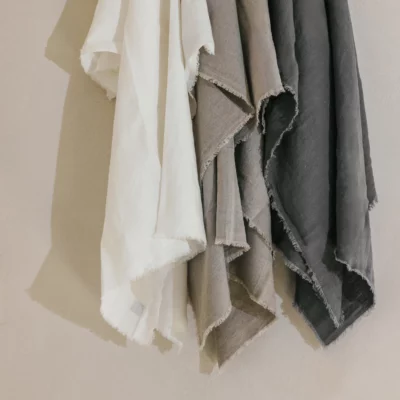
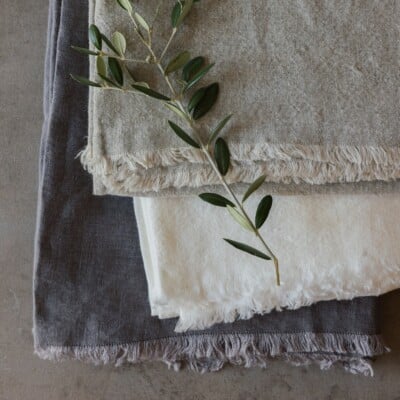
My Softest Bathroom Staple
The softest towels I’ve ever owned — I ordered these for the Malibu bathrooms and they’re the upgrade I didn’t know I was missing. The oak color is the warm neutral I wanted: not stark white, stays beautiful, and actually photographs the way you hope. — Camille Styles, Editor in Chief
Beauty & Wellness
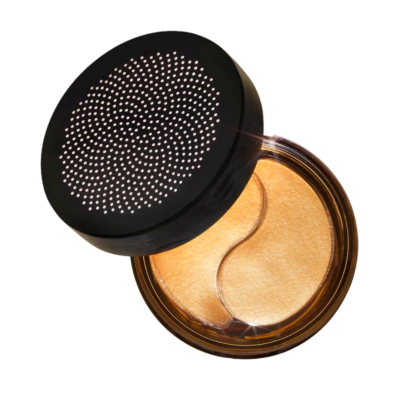
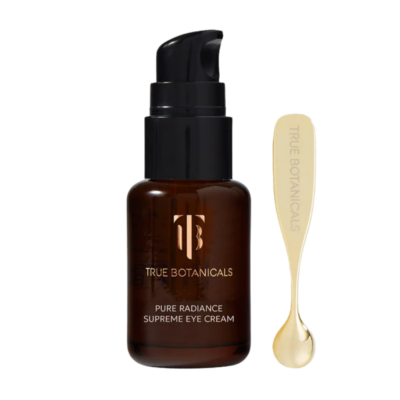
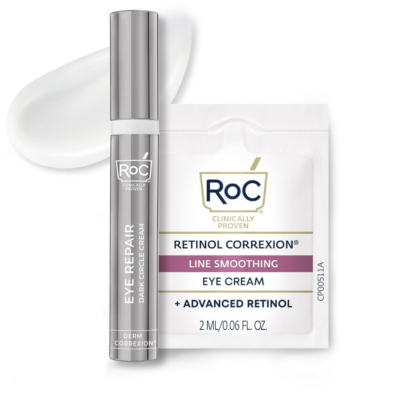
15-Minute Under-Eye Refresh
The two-step eye routine I’ve kept consistent. The patches depuff and firm in about 15 minutes, and the eye cream has genuinely changed the texture of the skin around my eyes over time. I reach for this combo every time I need to look more awake than I actually am. — Camille Styles, Editor in Chief
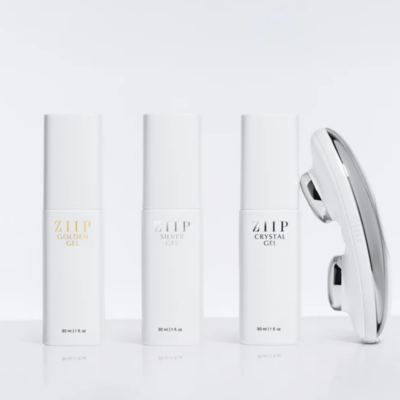
The At-Home Lift Routine
I’ve been a ZIIP loyalist for years—it’s one of the few techy skincare tools I believe actually does something—and they just sent me their new 2.0 Halo to try. The upgrade is real. When I’m using it consistently, the lift and brightness are visible enough to be actually noticeable. I try to do it for 7 minutes at a time, 4x per week. — Camille Styles, Editor in Chief
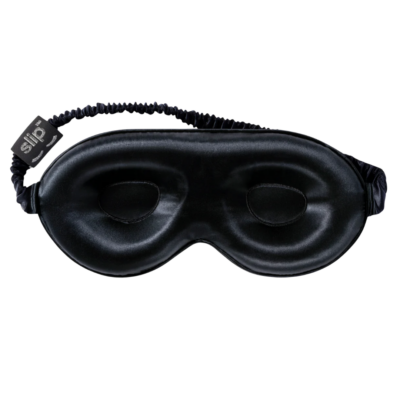
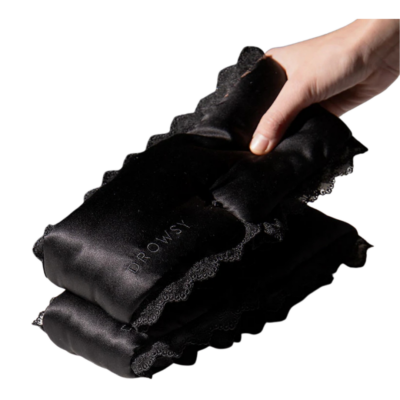
The Duo Worth Packing
Upgraded my sleep mask to this one, which apparently every beauty insider considers the gold standard, and now I understand why. Yes, it’s an investment, but—it’s total blackout, contoured so it doesn’t destroy my lashes overnight, and one of those things where I panic if I forget to throw it in my suitcase. Their hair-protecting scrunchies in brown have also become an essential for me. — Camille Styles, Editor in Chief

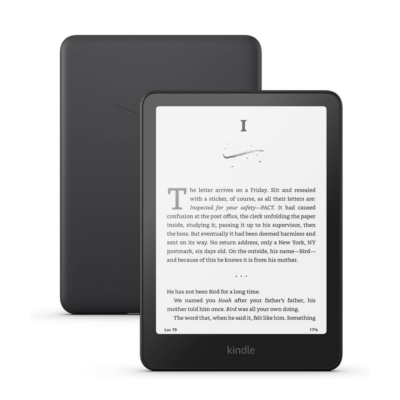
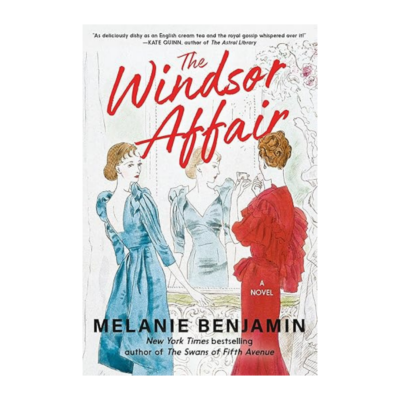
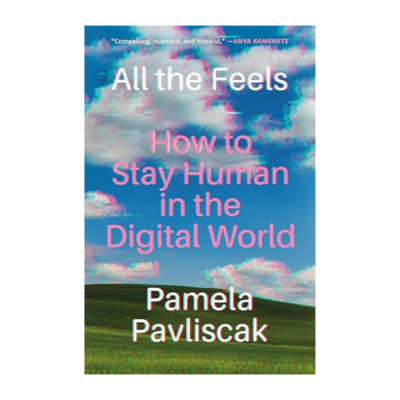
My Beach Read Essential
It’s officially beach read season–which also means overstuffed beach bags, books with wet pages, and the balancing act of trying to hold a paperback open while laying out in the sun. As a lifelong physical book loyalist, I resisted the Kindle for years. Then I got one for Christmas two years ago and… as much as I hate to admit it… I completely changed my mind. It slips effortlessly into a purse or beach tote, making it easy to bring along for errands, travel days, or afternoons by the water. I’ve found myself reaching for a book while waiting at the doctor’s office or sitting at the airport gate instead of instinctively scrolling social media. I’m reading more simply because there’s less friction—when I finish one book, the next one is instantly there waiting for me. And for anyone wondering: reading in the sun is surprisingly seamless. No awkward glare, no juggling pages in the wind. If summer reading is on your agenda, consider this your sign to give a Kindle a chance. — Bridget Chambers, Fashion Editor
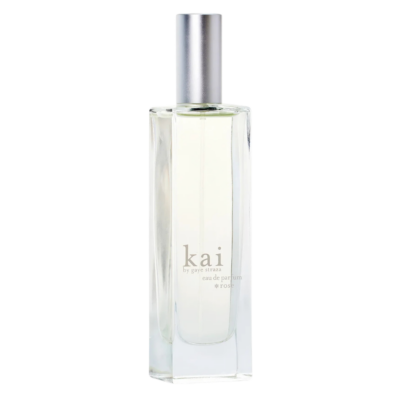
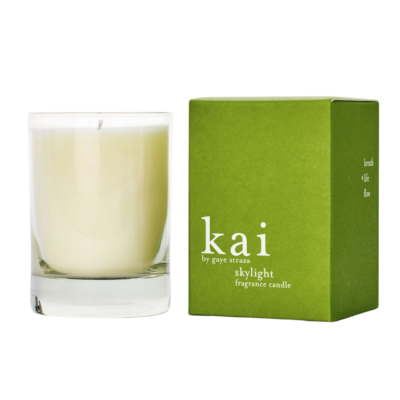
My Kai Era (An Inheritance)
You know how we’re all obsessed with our moms as little girls—and then again in our 30s? (If you self-identify as a Giggler, you get it.) I have always wanted to do everything my mother has ever done, and that includes drowning myself in kai. Seriously, our mutual obsession is a recurring topic on every phone call we’ve ever had.
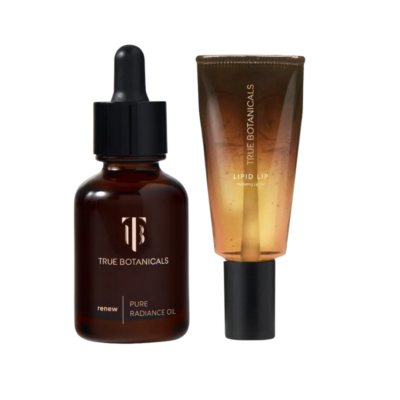
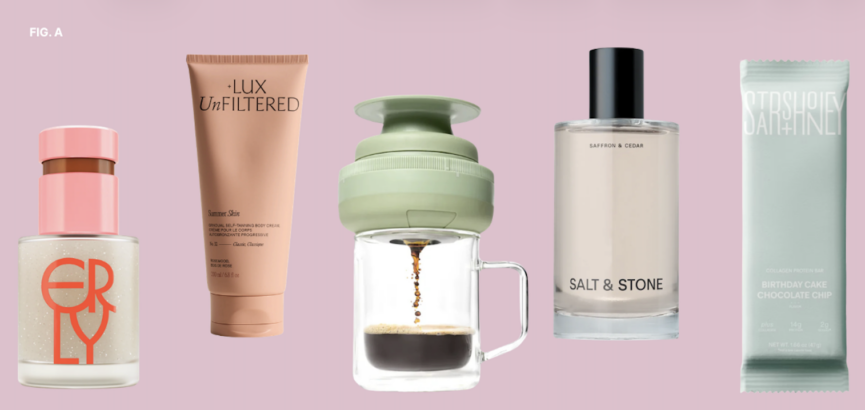
I’ve loved the signature scent since it was appropriate for me to wear perfume (in my book, that was age 7—I have always smelled good), but I’ve recently introduced the kai rose eau de parfum into my rotation. It’s delicate but stays with you all day, buildable, and smells like you just walked out of a well-tended French garden. Every time I spritz it on, it’s like a little positive affirmation: you are beauty, embodied.
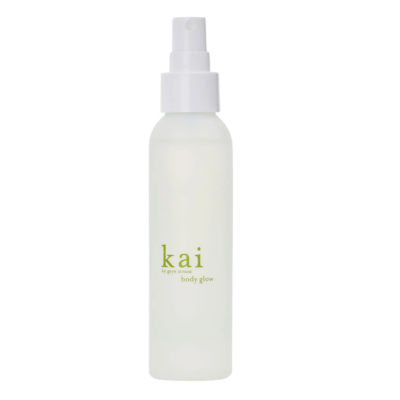
The body glow is non-negotiable if you have main character energy—which I do. This isn’t disco ball territory (though call me extra, I call myself forever young). It’s just enough shine that people will loud-whisper around you: “Oh my gosh, that girl? Radiant.”
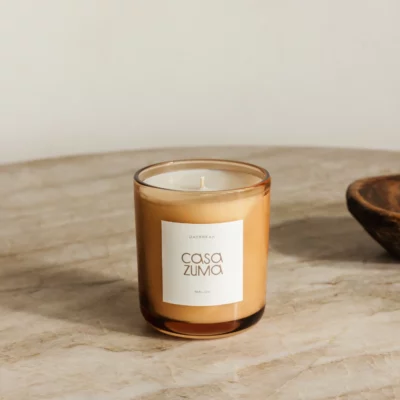
And because I love kai so much, I need everyone who has ever walked into my home to enjoy the scents as well. The Skylight Candle gives you 40 hours of burn time in the signature scent, crafted with a soy, palm, and coconut wax blend and an organic cotton wick. Consider this a standing order for the hostess gift you should always buy me. — Isabelle Eyman, Editorial Strategist
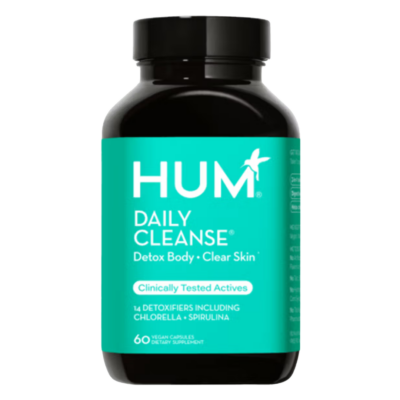
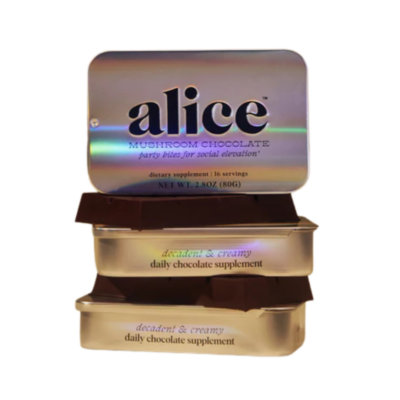
My Summer Supplement Stack
I’m wary of a detox—but I’m simultaneously allured by the promise of one (she’s human, folks!). I’m just a young millennial lady who would like to GLOW: inside (re: regular BMs—doesn’t that sound nice?) and outside (skin that would make Anne Hathaway nod her head in approval). I’m on month two of HUM Daily Cleanse—two capsules daily, because if anything, I’m a rule follower, and I believe that plus a healthy bit of whimsy is the key to life. If I were still in school, I’d be coming back post-Labor Day and the kids would be like: whoa, that girl—she glowed up.
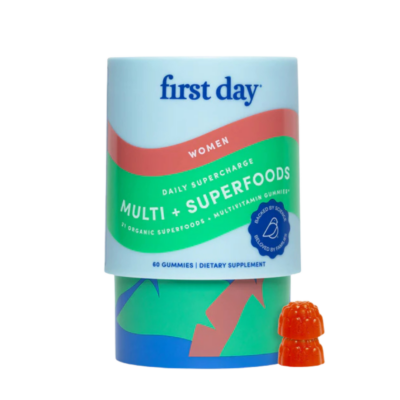
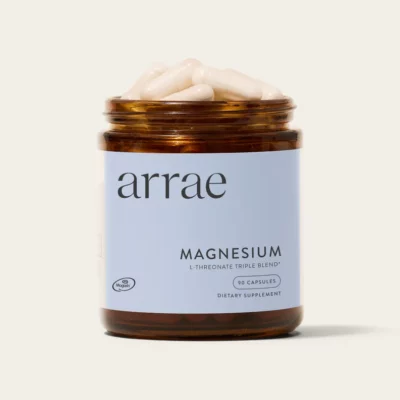
A few things I set out to do in my early 30s: invest like a boss who knows what she’s doing (re: stop ghosting my financial advisor), never EVER reply to a presumptuous “u up?”, and finally FINALLY find the multivitamin that actually does it all. First Day’s “No Junk” Women’s Multi did it. I eat the rainbow and still, nutrition gaps abound—but B6, B12, and Magnesium have me energized in a way that feels suspiciously like having my life together.
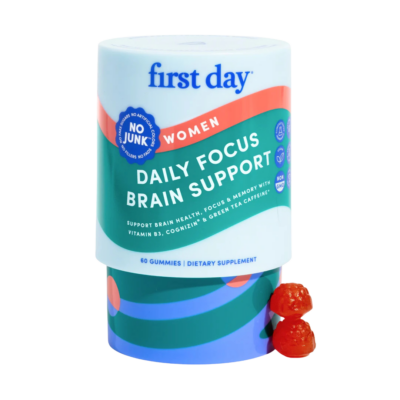
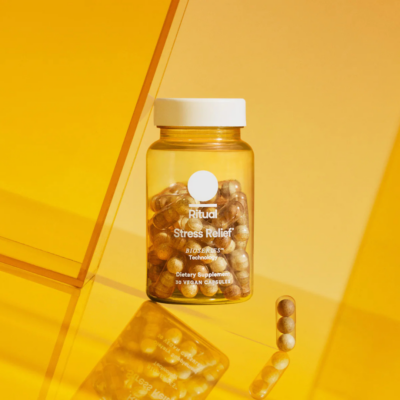
If there’s anything consistent about me, it’s that I often wake up in a mental fog (where am I? WHO am I?—both existential and practical questions). Enter Brain Support: a peach gummy with Cognizin , phosphatidylserine, and sustained-release caffeine that somehow makes “nootropic” sound fun. Now I function with the best of them. Call me a genius? No, just a girl who has her intellectual ducks in a row.
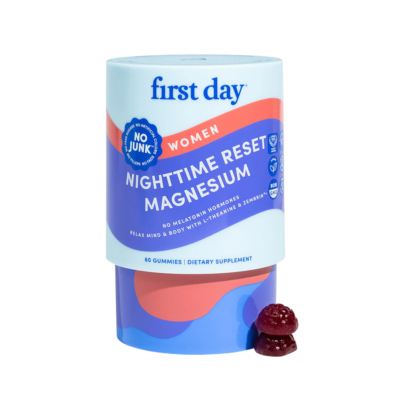
And finally: I’m a childless cat lady, so you’d think I’d have no excuse not to clock 9-10 hours a night (I usually do—geriatric bedtimes, up at 5 to the beautiful paw of my Calico, Millie, demanding breakfast). But despite the hours, I woke up sleepy sleepy sleepy—dragging myself to the coffee grinder in a haze. That’s until Nighttime Reset. Calming magnesium, no melatonin, strawberry flavor. I now wake up like a person. It’s revolutionary. — Isabelle Eyman, Editorial Strategist
Tired Skin’s Favorite Shortcut
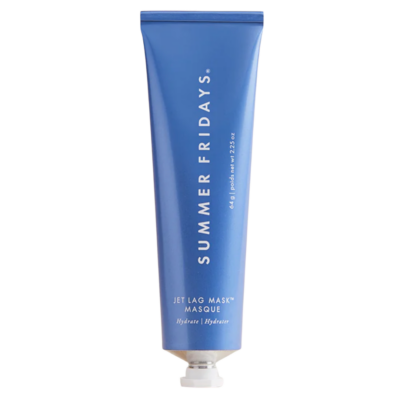
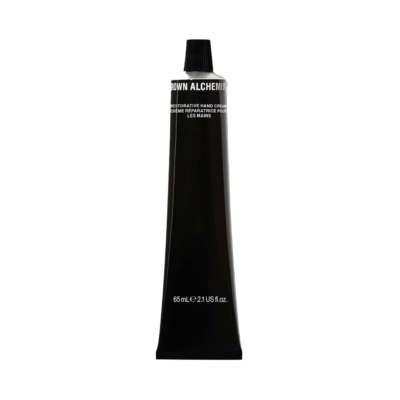
The Summer Fridays Jet Lag Mask is one of those products I end up reaching for in more ways than one. At night, I like to tap a little under my eyes after my regular moisturizer for an extra boost of hydration, and I swear I wake up still feeling it on my skin. It has a rich, cushiony texture that makes tired, dry skin feel instantly comforted, but it’s also versatile enough to use as an overnight mask or even as a refreshing hand cream when my skin needs a little extra care. — Tatom Hoffmann, Marketing Intern
The post The June Edit: What Our Editors Are Obsessed With This Summer appeared first on Camille Styles.


